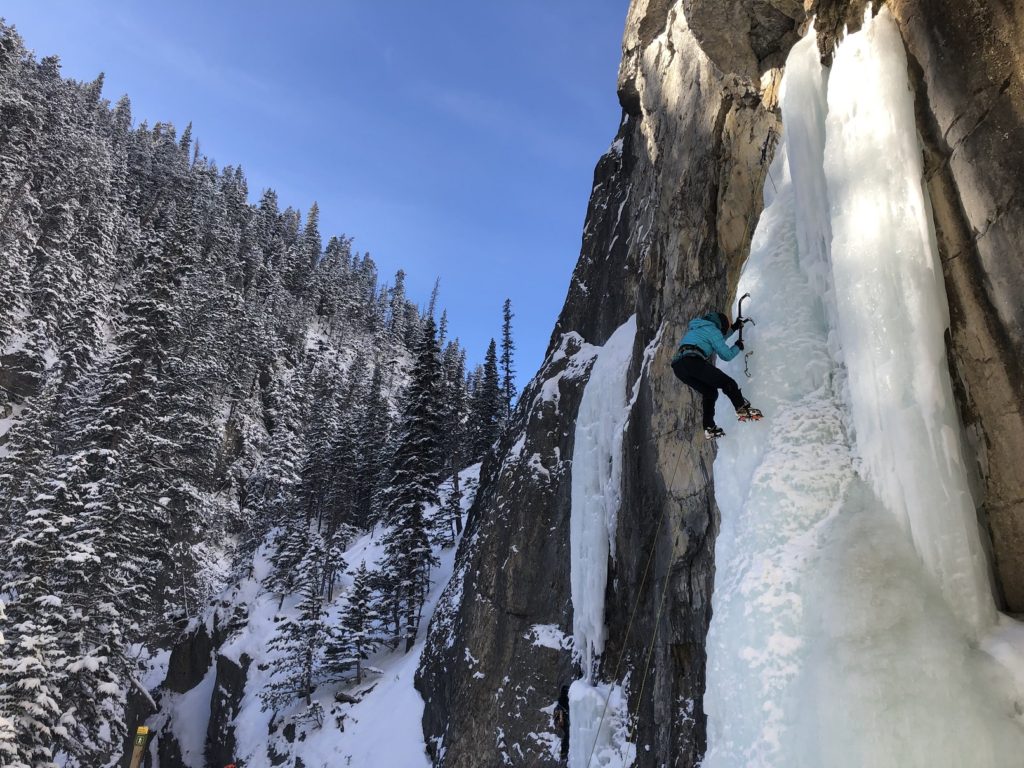
Last year, Rohan shared his experience of a week-long ice climbing course in Canmore. Hearing about the quality of ice and mileage one can get in Canmore, I decided to do a similar course. Sean Isaac’s name consistently came up in my research, and Lily provided some great feedback on the five-day Ice Leader Camp she had done with Sean.
So in September 2021, I reached out to Sean, shared my background and asked for his recommendation on a suitable course.
2014 – Six-Day Alpine Ice Climbing Course on Mt. Baker
2018 – Ice Climbing Anchors – a one-day course in the Duffey Lake area
2015-2020 – Around six days of waterfall ice climbing on the coast and maybe two days of alpine ice climbing. All top rope and no lead climbing experience.
Sean recommended the five-day Ice Leader Camp, and I signed up for the January 17-21 batch. I posted this course as a trip on BCMC, and soon Sima, Ilze signed up.
Gear
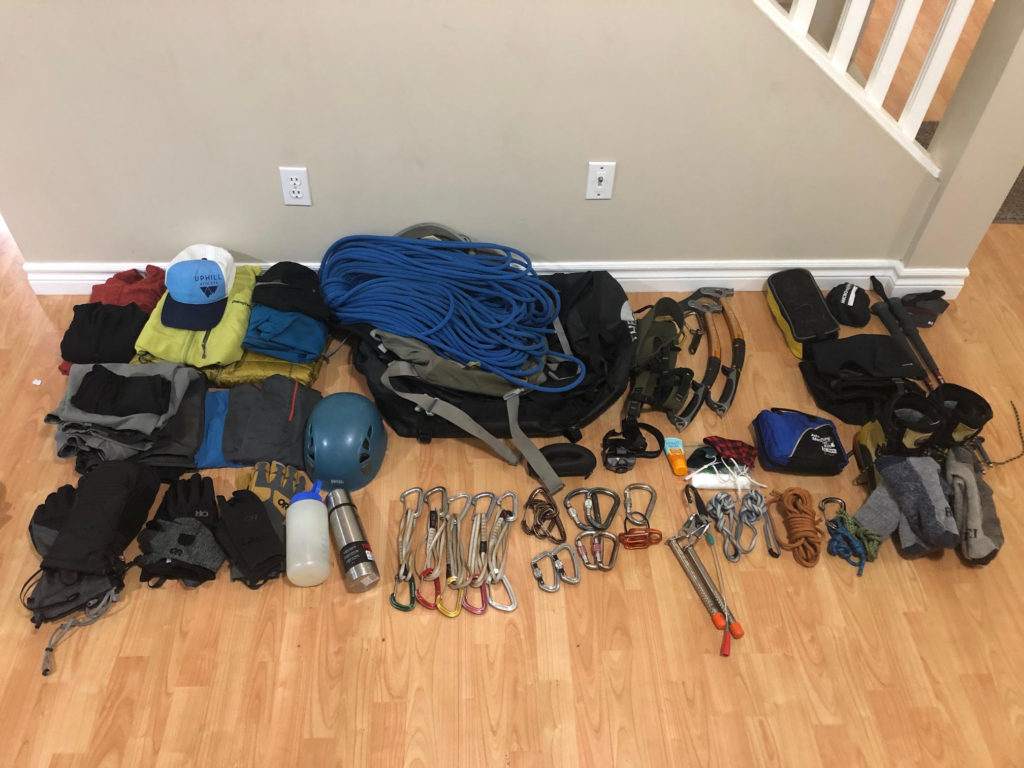
Layers:
Top: Hat, thermal layer, full-sleeve synthetic shirt, fleece pullover, soft-shell jacket, shell Jacket, down jacket, balaclava, Two sets of liner gloves, two sets of mid-weight gloves, belay gloves, mittens. Post-trip note: didn’t end up using mittens and the extra set of liner gloves.
Bottom: Thermal layer, soft-shell pant, shell pant, thick merino wool socks, mid-weight socks
Climbing Gear:
Helmet, harness, boots with toe and heel welts, front-point crampons, ice tools, climbing harness with caritool, belay device, personal anchor system, locking and non-locking carabiners, ice screws, cordelette, 120 cm slings, alpine draws/quickdraws, v-thread hooker, 1.5m x 7 mm cord, climbing rope, repair kit for ice tools/crampons, 35L backpack
Other:
Trekking poles, microspikes, gaiters, headlamp, sunglasses, thermos, water bottle, mask, hand sanitizer, toilet paper, first aid kit, sunscreen
I packed most of the gear in a 90L duffel bag and it weighed around 21 lbs.
Canmore
We got lucky with the airfare and found a WestJet flight for a $150 Vancouver-Calgary return trip. The November flooding in BC had disrupted the road travel heading East, so the flights worked out well.
Our biggest worry was getting a good rental car at the Calgary Airport. We got an AWD Hybrid Ford Escape with Tracmax X-Privilo Tires. The tires were All Season but had the ‘snowflake on the mountain sign’ next to M+S. It was confusing, and although I was concerned initially, the tires worked well in snowy/icy road conditions.
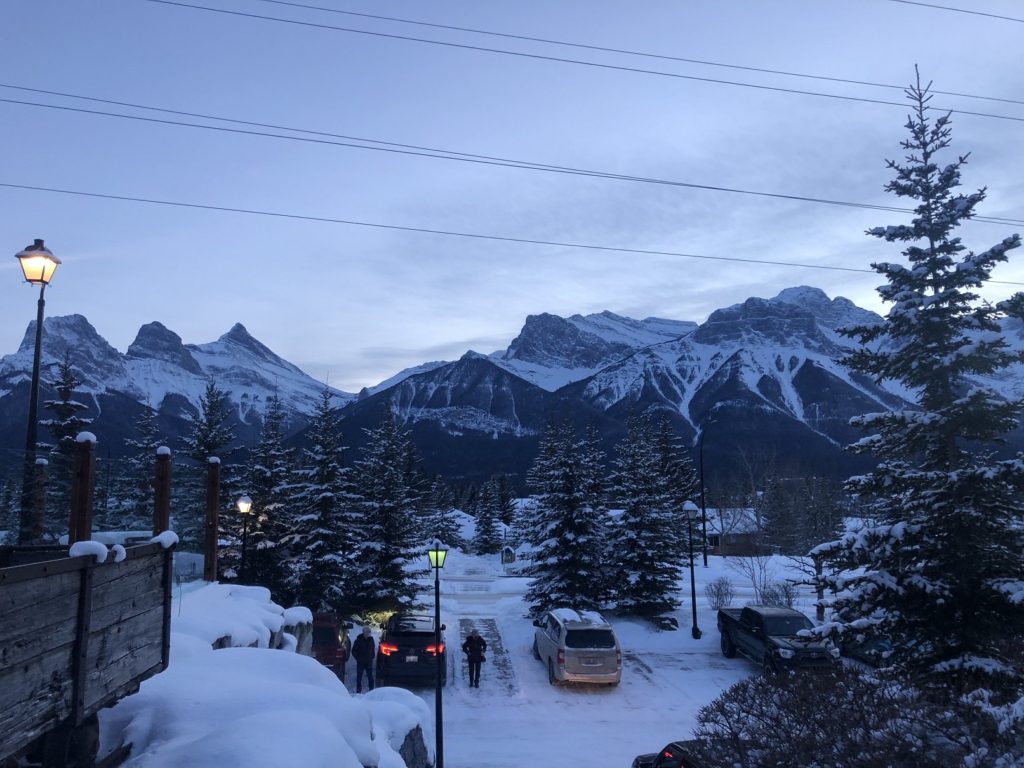
The last time I was in this region was in the Summer of 2014. Now I would get a taste of winter in the Canadian Rockies. We arrived in Canmore just before sunset. Ilze and I checked in at the ACC clubhouse and got our packs ready for the first day of Ice Leader Camp.
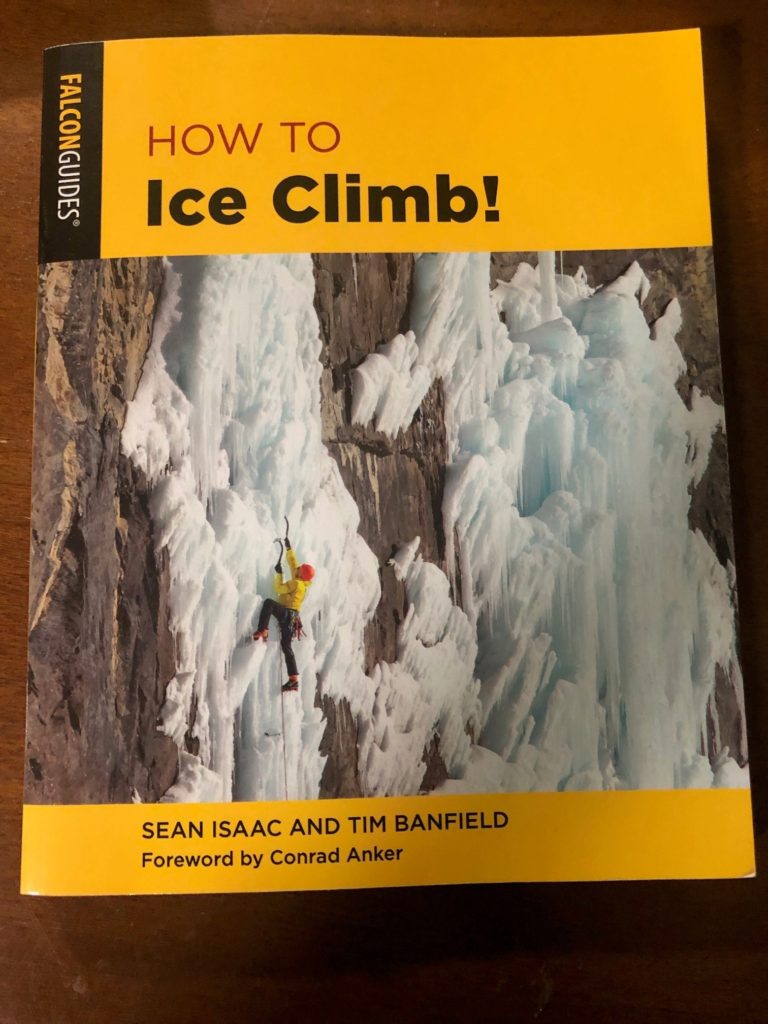
Sean Isaac and Tim Banfield recently published an updated version of “How to Ice Climb” book, and I highly recommend it. In the sections below, I will refer to the page numbers (hard copy) for further reading on the movement drills, technical systems, hazards, etc.
Land Acknowledgement
I would like to acknowledge that I stayed and climbed in the Canmore area, known as “Chuwapchipchiyan Kudi Bi” (translated in Stoney Nakoda as “shooting at the willows”) and the traditional Treaty 7 territory and oral practices of the Îyârhe Nakoda (Stoney Nakoda) – comprised of the Bearspaw First Nation, Chiniki First Nation, and Wesley First Nation – as well as the Tsuut’ina First Nation and the Blackfoot Confederacy comprised of the Siksika, Piikani, Kainai. I acknowledge that this territory is home to the Métis Nation of Alberta, Region 3, within the historical Northwest Métis homeland. I commit to learning about Indigenous peoples and issues and making reconciliation an ongoing effort.
(adapted from Town of Canmore land acknowledgement)
Ice Leader Camp – Day 1 – Upper Junkyards
Sean had already sent us the Google Maps location of Grassie Lakes parking lot, and it was an easy 20-minute drive from the ACC Clubhouse.
The group, along with Sean, was there at the parking lot by 8 am. Three of us from BC and Greg, Chantal and Jason from AB. A group with varied experience and eager to get better at this weird sport with more pointy reasons to hurt yourself than any other sport I practice.
After a quick introduction, Sean walked us through the plan for the week and then we discussed hazards related to ice climbing and the risks we might face at Upper Junkyards.
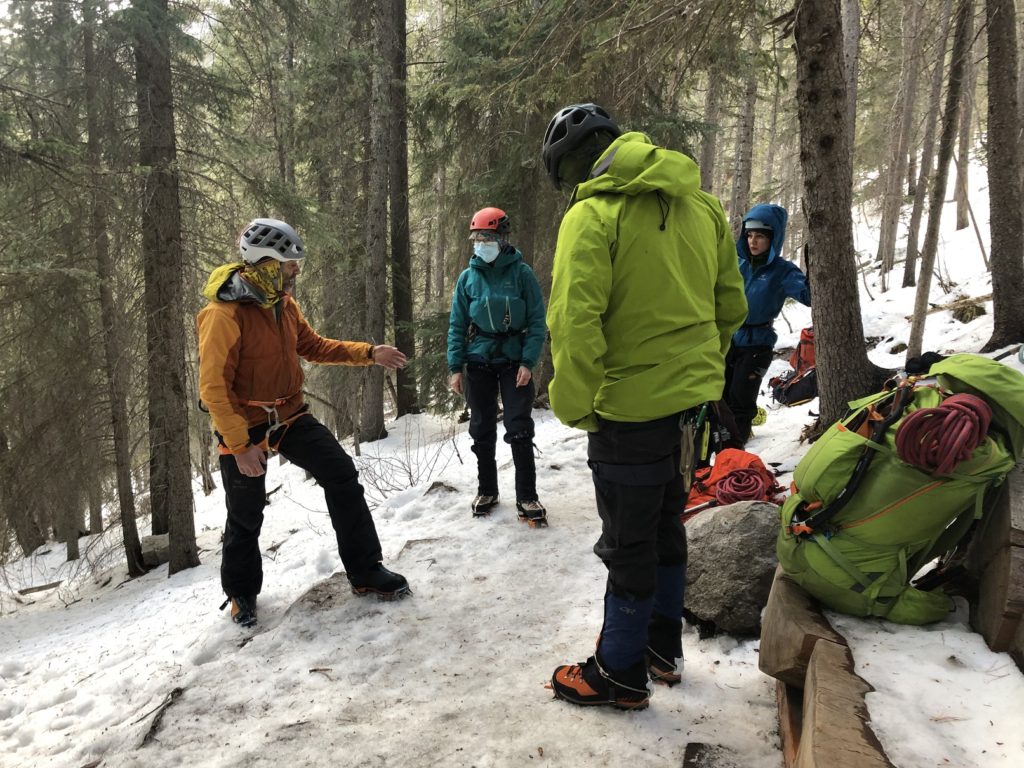
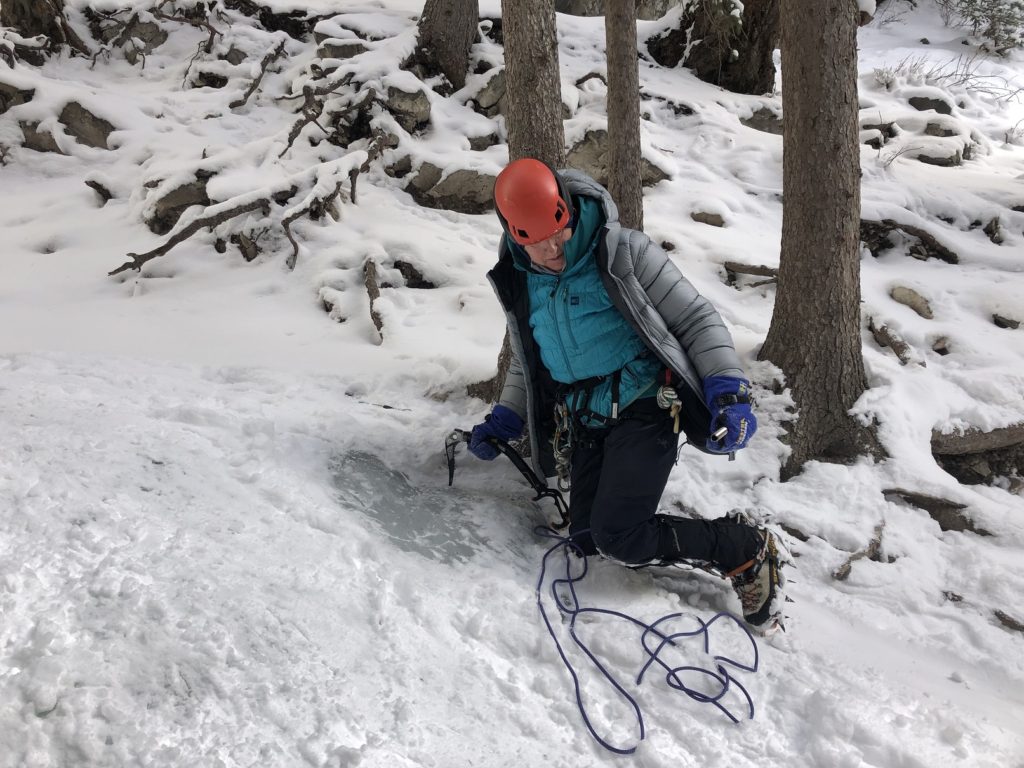
It took us about 20 minutes to reach Upper Junkyards, and our first session was on top rope anchors. The short hike up and down provided a good opportunity to practice walking in crampons in different positions (Page 74).
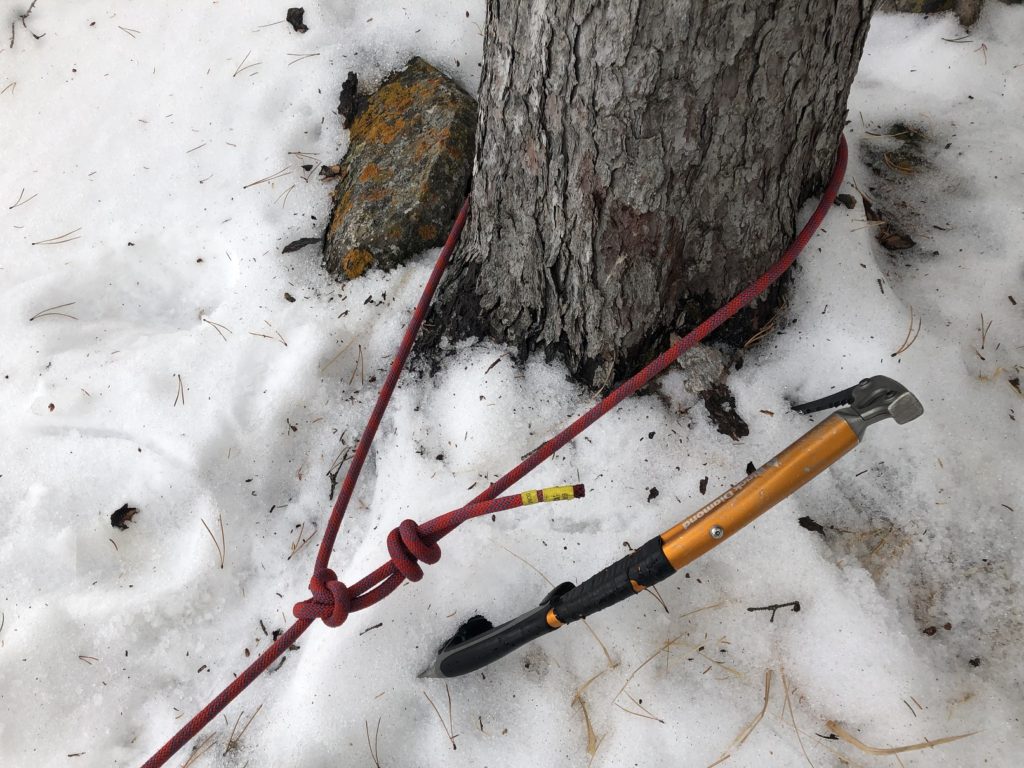
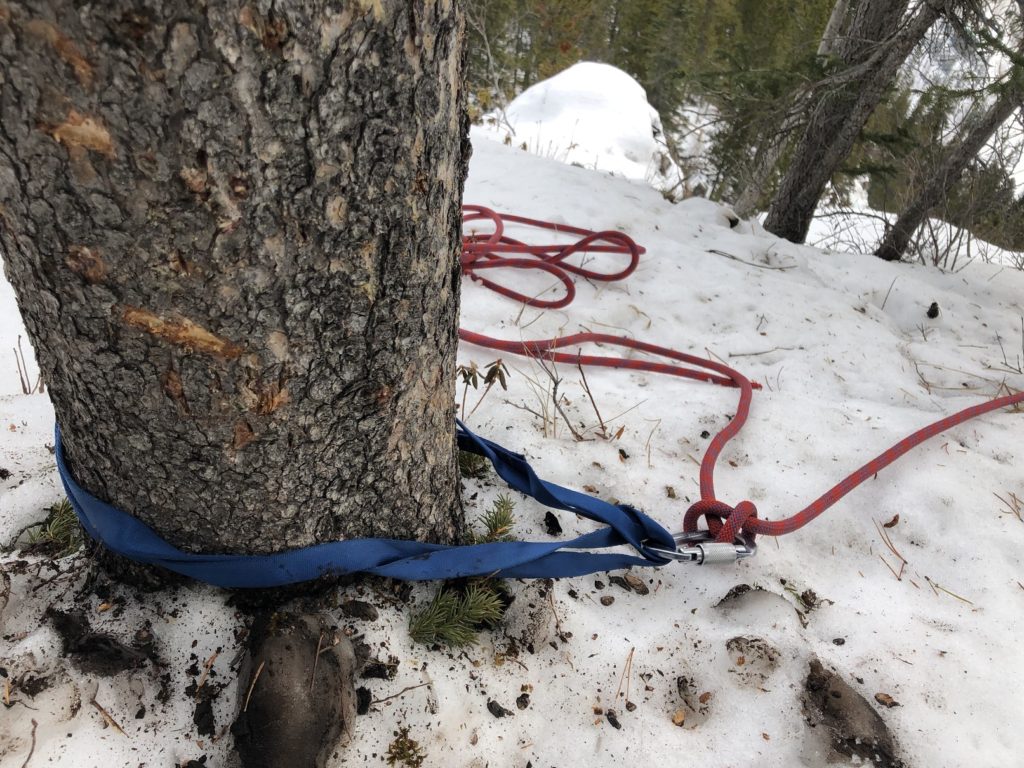
Once at the top, we used trees (alive, thicker than the thigh (> 6 in.) and deeply rooted, Page 93) to set up three top ropes for the day.
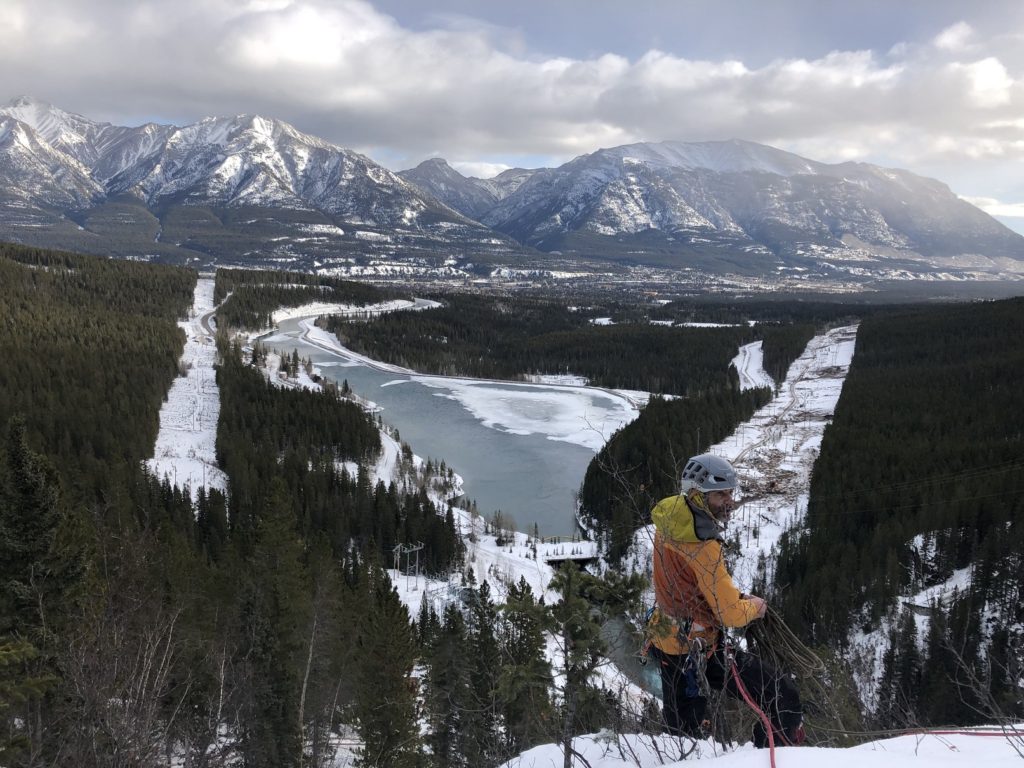
We all had a warmup lap and then moved on to our first exercise for the day – “The One Tooler.’ (Page 125). The goal was to learn the basics of kicking – body position, crampon placement, level and parallel feet.
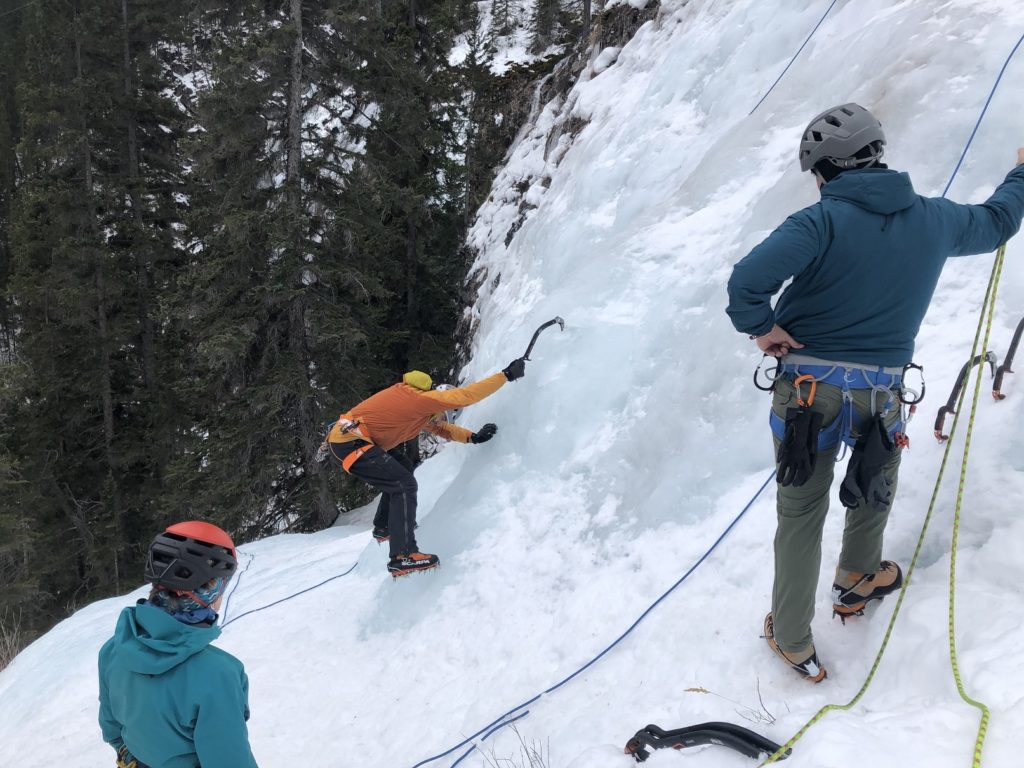
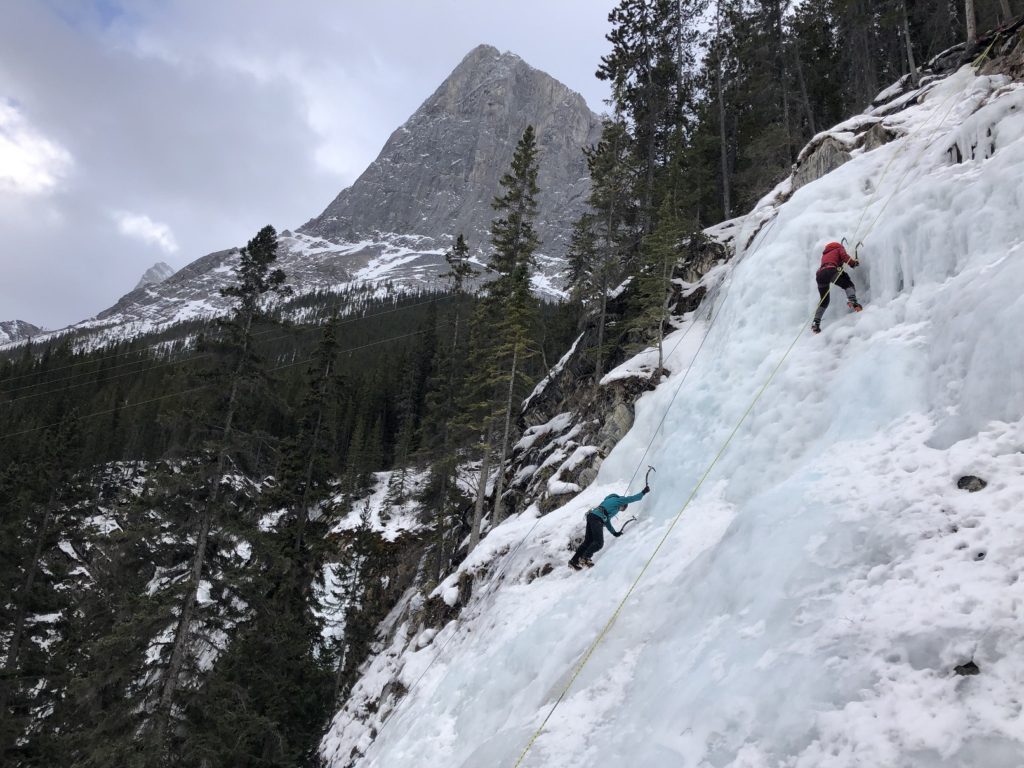
By early afternoon, we had practiced the basic movements of kicking and swinging tools. Finally, we tried to put together all these skills on our last climb.
The final session at the crag was on ice screws (Page 25, 81). Sean provided an overview of different materials (aluminum, steel), lengths (10 cm – 22 cm) and applications before moving on to the placement of ice screws.
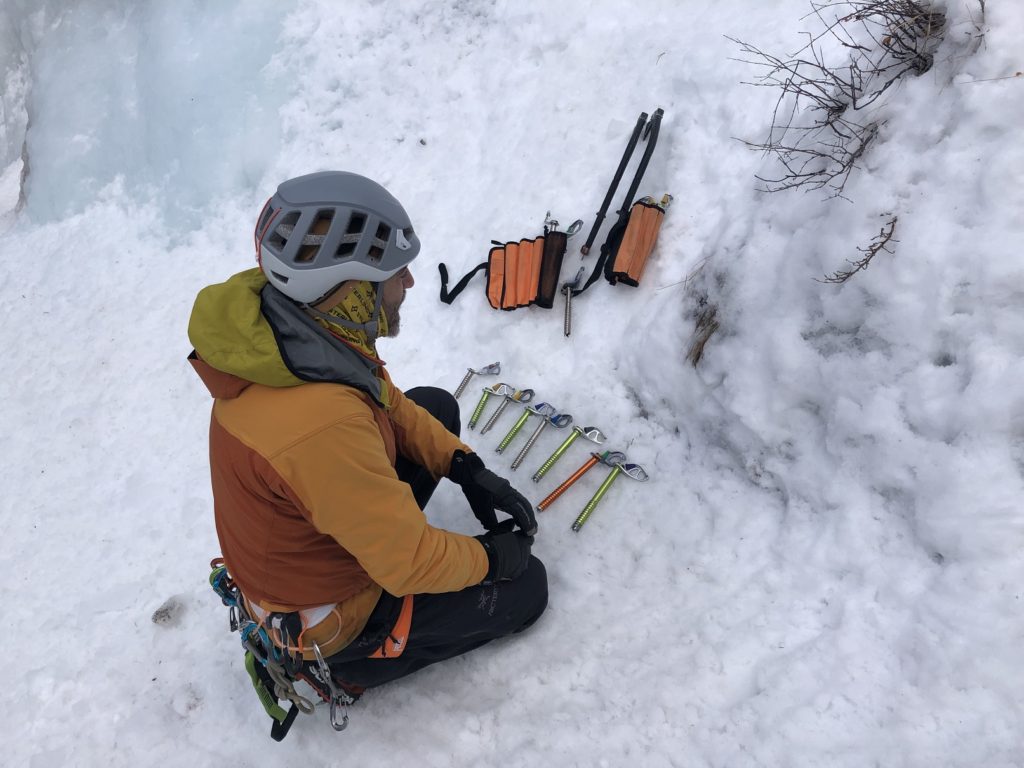
We also reviewed the ice screw angle, the strength of ice screws and the importance of the quality of ice.
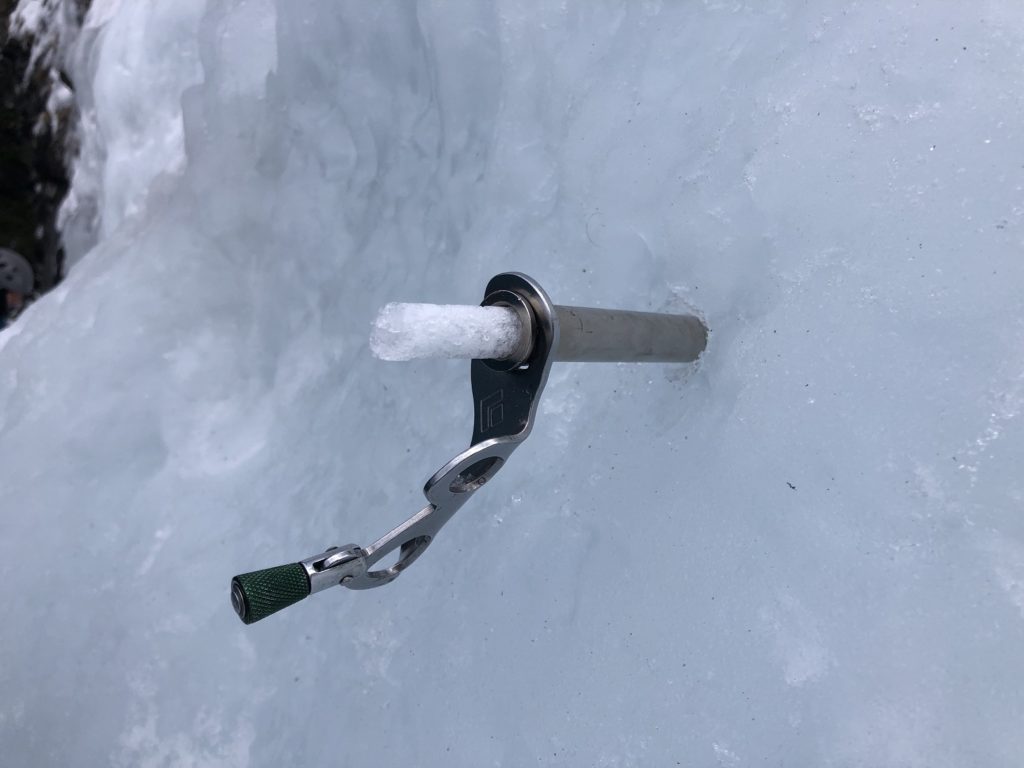
Just past 4 pm, we were back at the parking lot and had a debrief session. We would follow this practice of having a quick chat at the beginning and end of the day for the rest of the week.
Ice Leader Camp – Day 2 – Wedge Smear
A snowstorm the previous night made for a cautious and relatively slow drive to the Galatea Creek parking lot. Sean was breaking trail in fresh snow, and it took us almost an hour to arrive at Wedge Smear.
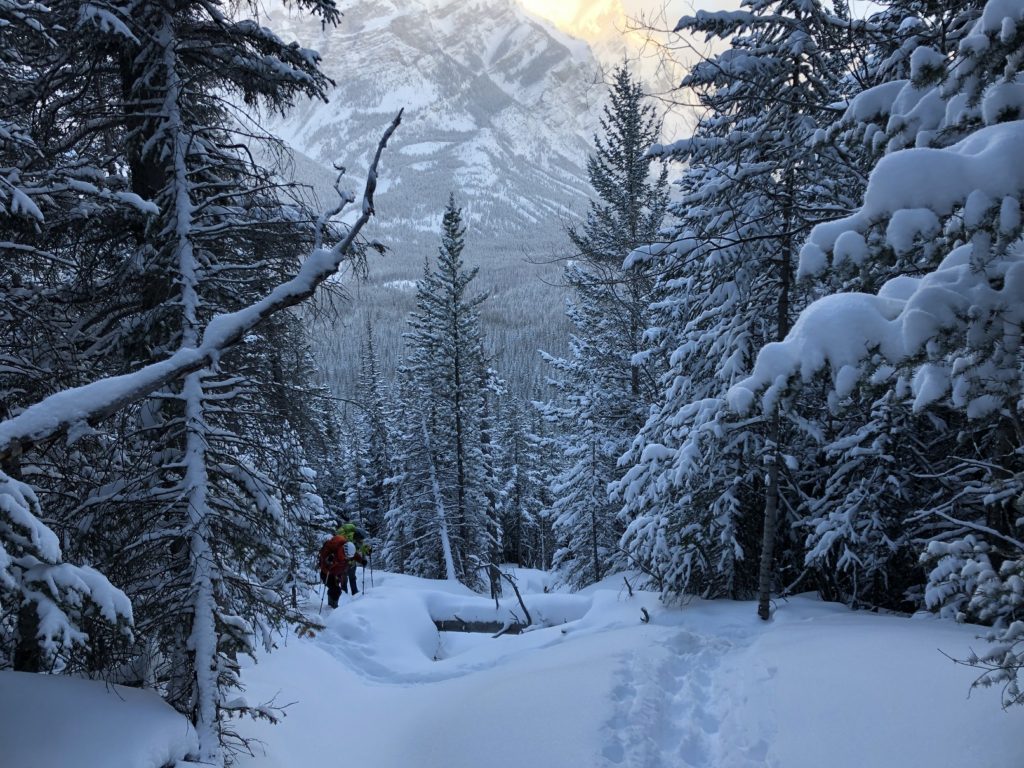
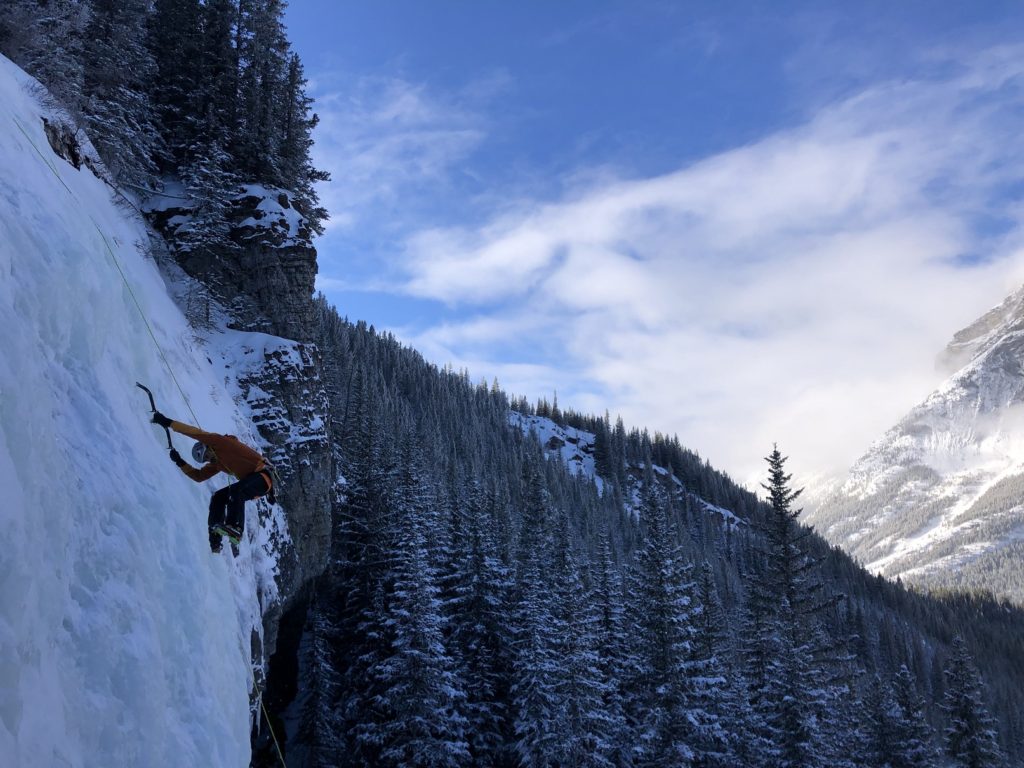
Sean had three ropes set up, and the climbs were in the WI3 range. After the warmup lap, we did “The Pendulum” (Page 124) drill. The focus of this drill was to learn the correct body position while kicking and improving our kicks.
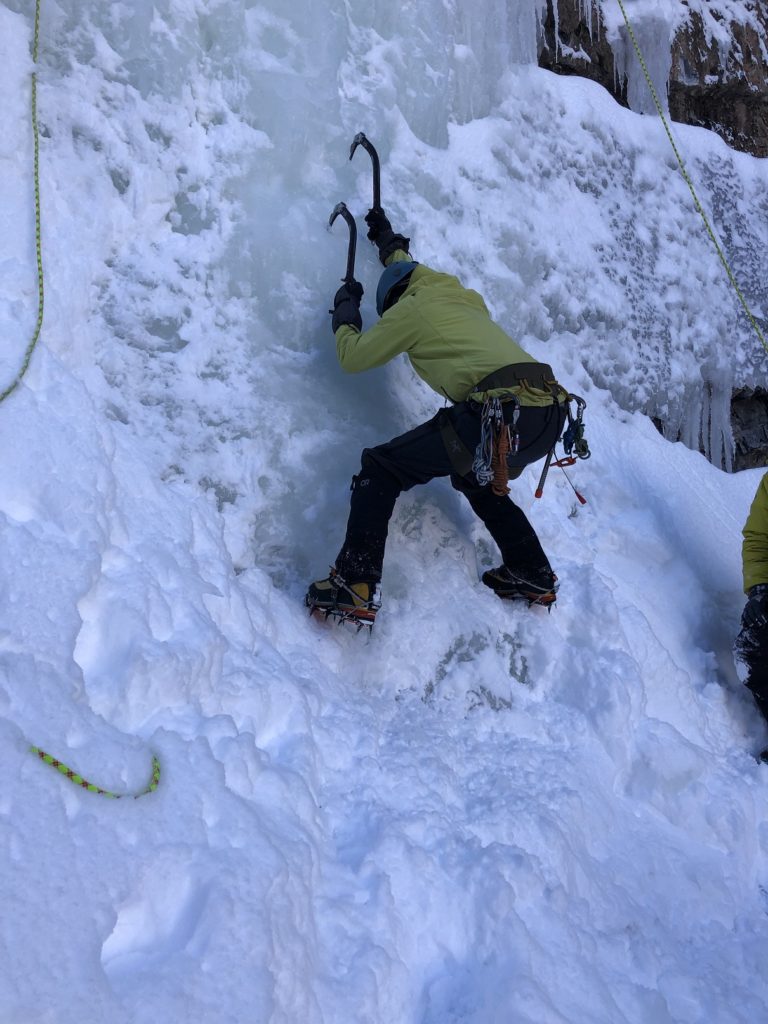
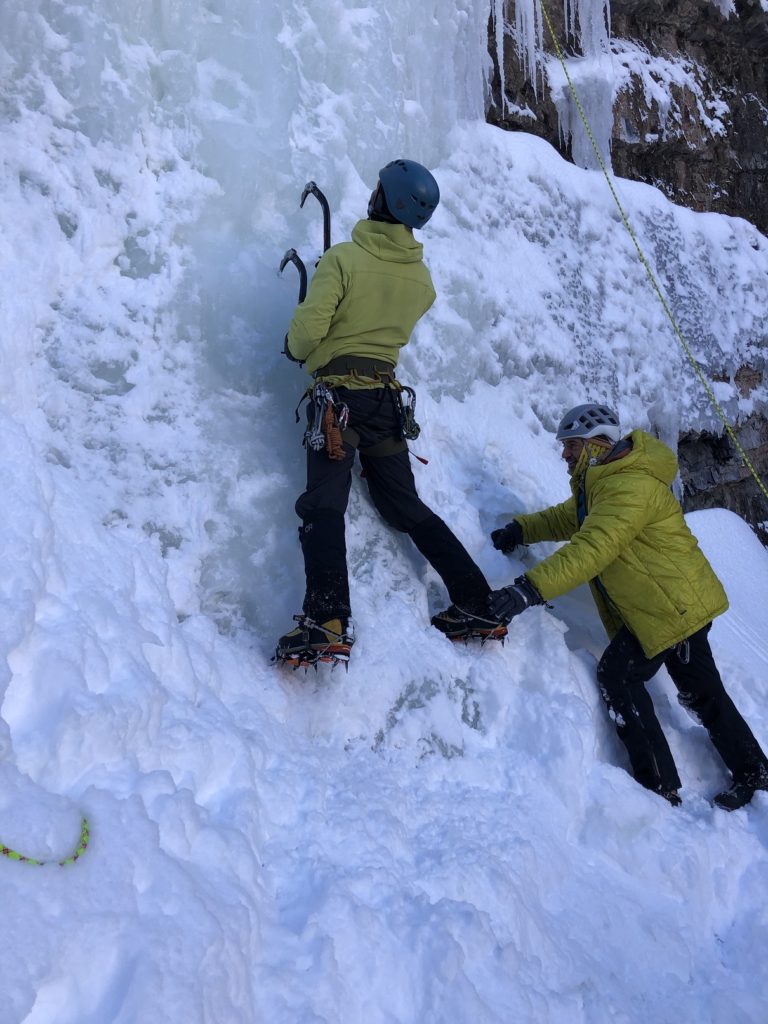
Especially for me, this was the weak part as I kept kicking through the ice rather than kicking at the ice. The other aspect I had to work on was getting good placement with my two front and secondary points.
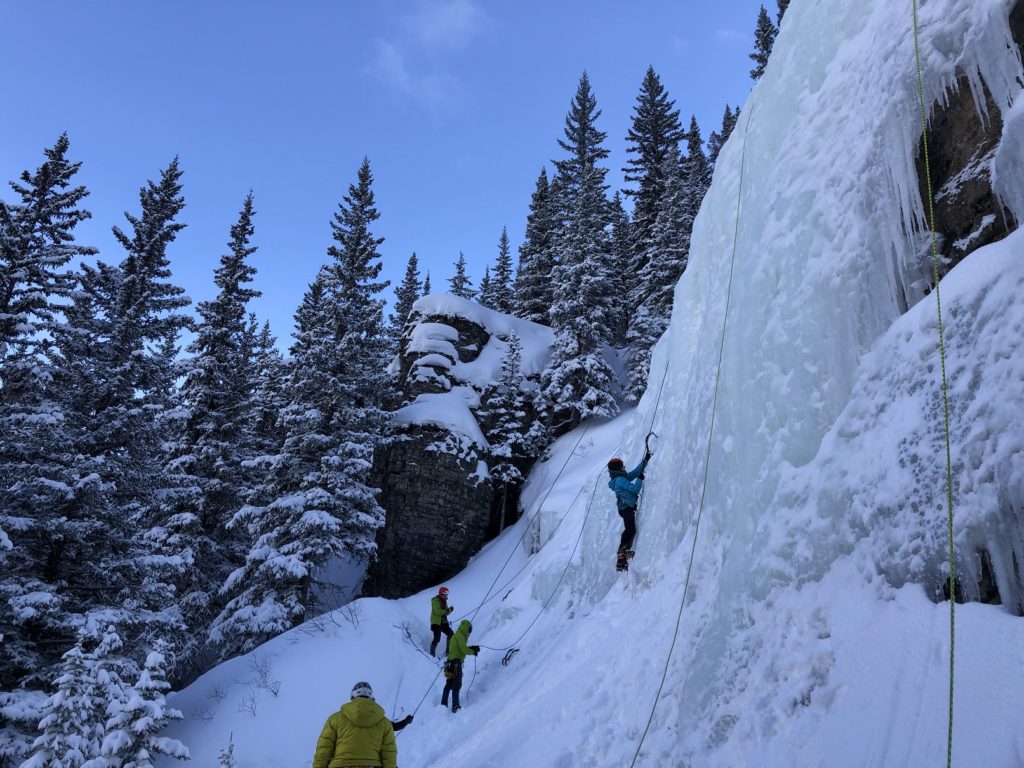
We took turns doing this drill and later did a couple of climbs to implement the movement we had learned in the drill.
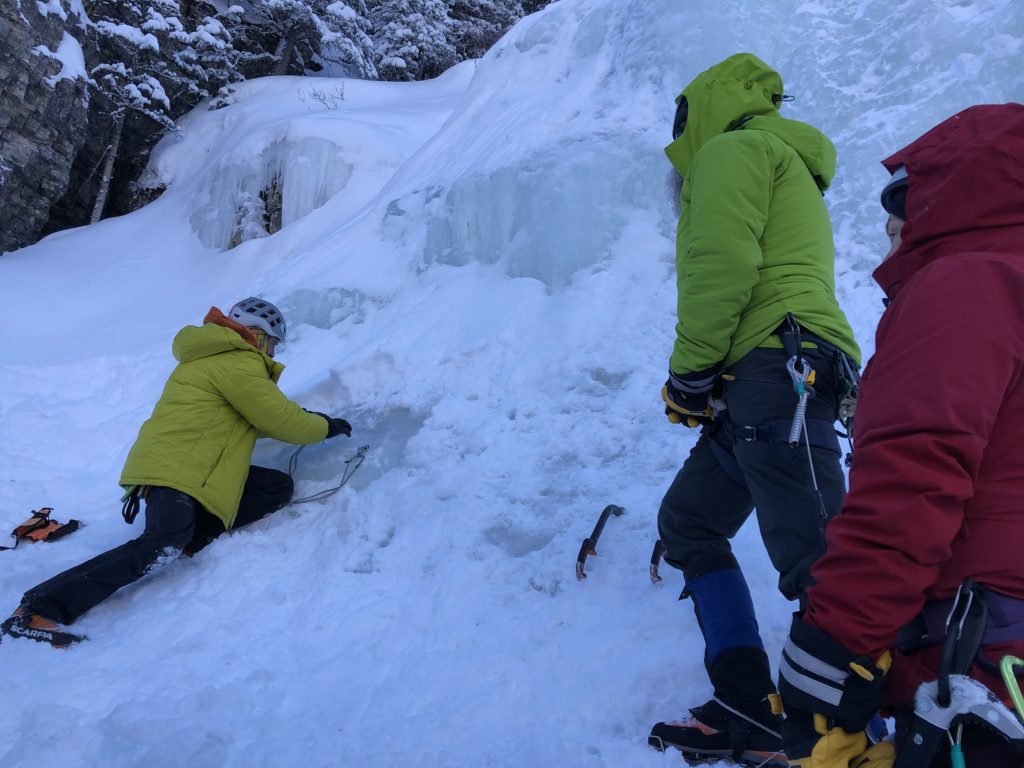
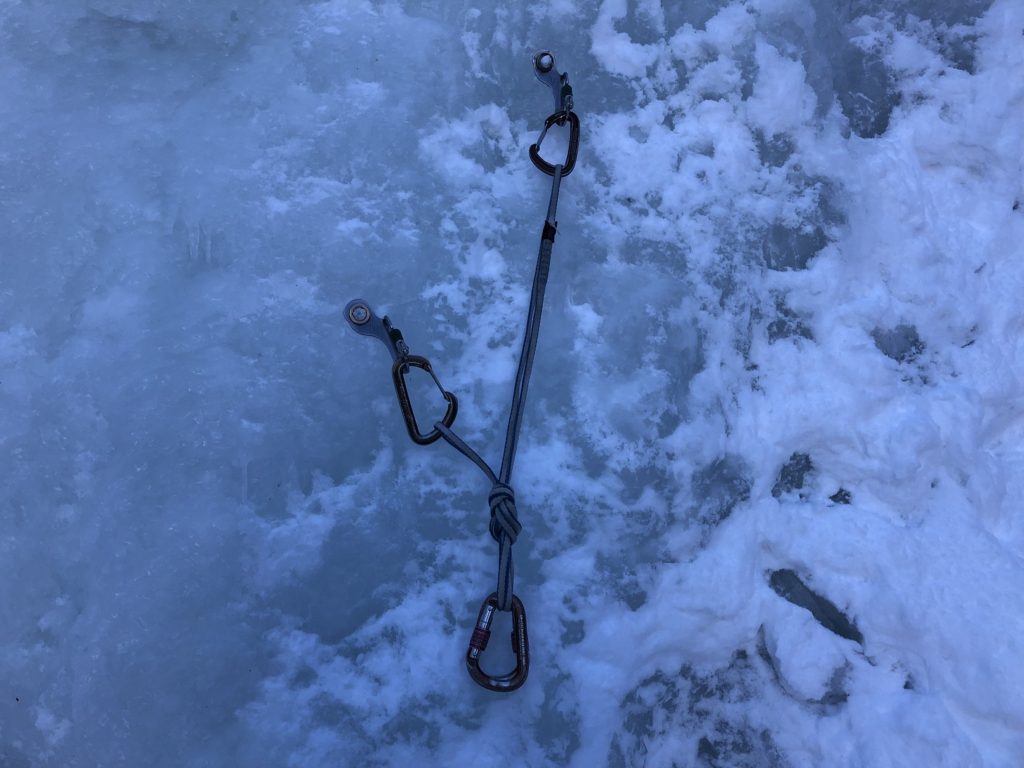
In the afternoon, we had a session on anchors using two ice screws. We practiced a two-point anchor with a figure-eight configuration using a 120 cm sling (Page 89). One of the neat tricks Sean showed was tying a figure-eight on a bight (to create a master point) with thick gloves.
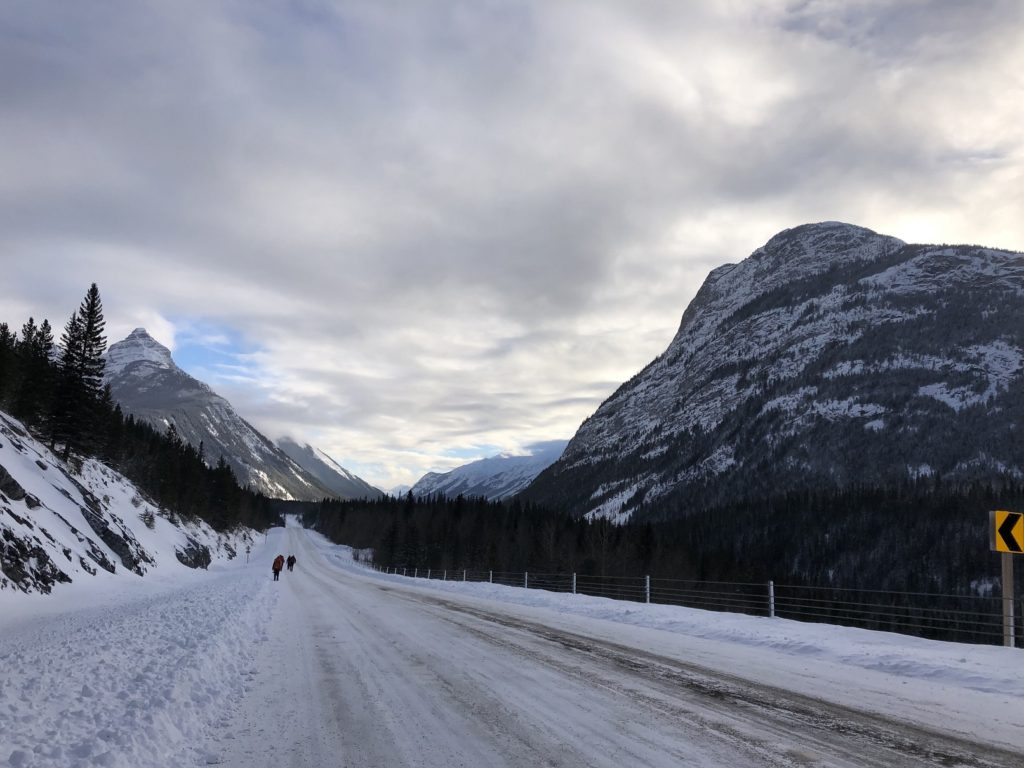
It was a beautiful day, and the road was plowed by the time we got back to the parking lot around 3:30 pm.
Ice Leader Camp – Day 3 – Grotto Canyon
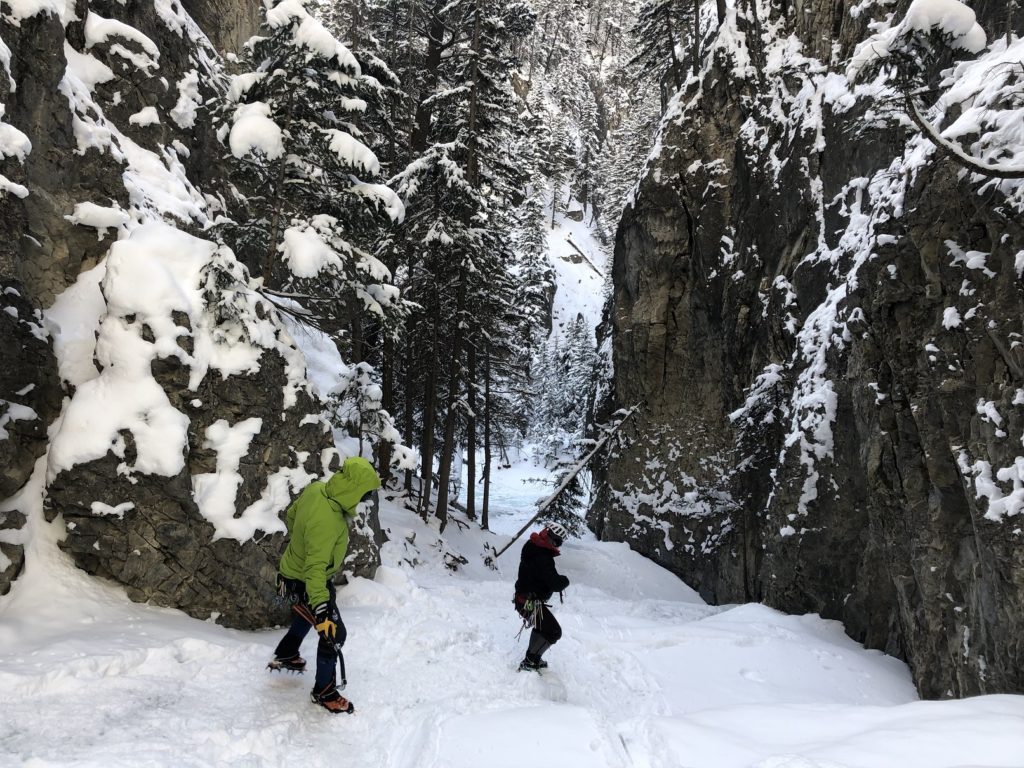
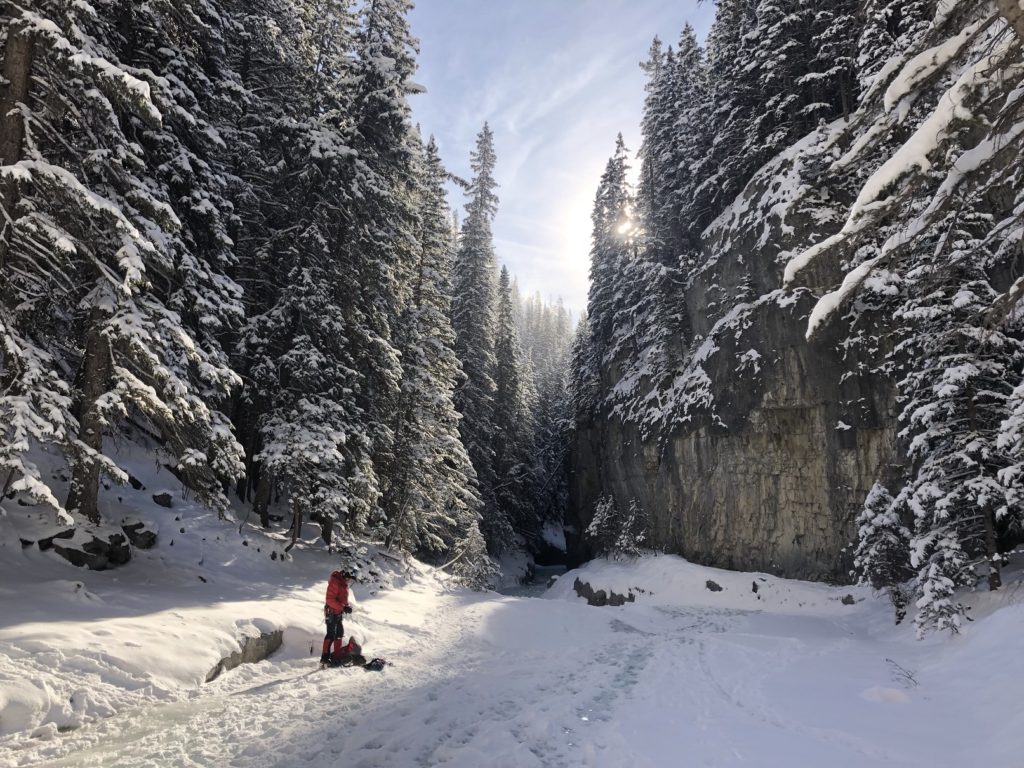
Of all the areas we climbed, Grotto Canyon was the closest to ACC. It took us about forty minutes to get to the climbing area in Grotto Canyon from the parking lot.
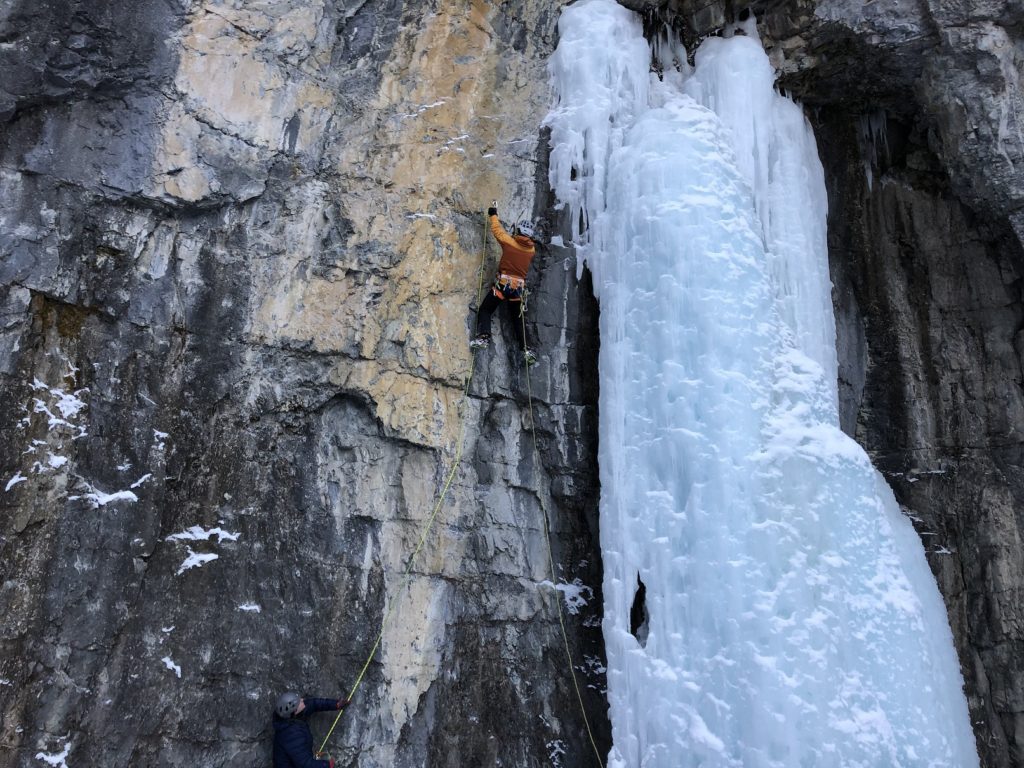
Our objective for the day was Hers (WI3+/4) and the mixed climb Sketch n Sniff (M6+) left of it. Sean led the mixed climb and set up the top rope for both routes.
I had done dry tooling once at Dennet Bluffs, and it had felt weird to climb a rock route with tools and crampons. Getting up on Sketch n Sniff for the warmup was not fun, and I was already pumped halfway up the route. But, as Sean shared some tips, things got better and later in the day, I repeated this climb two more times.
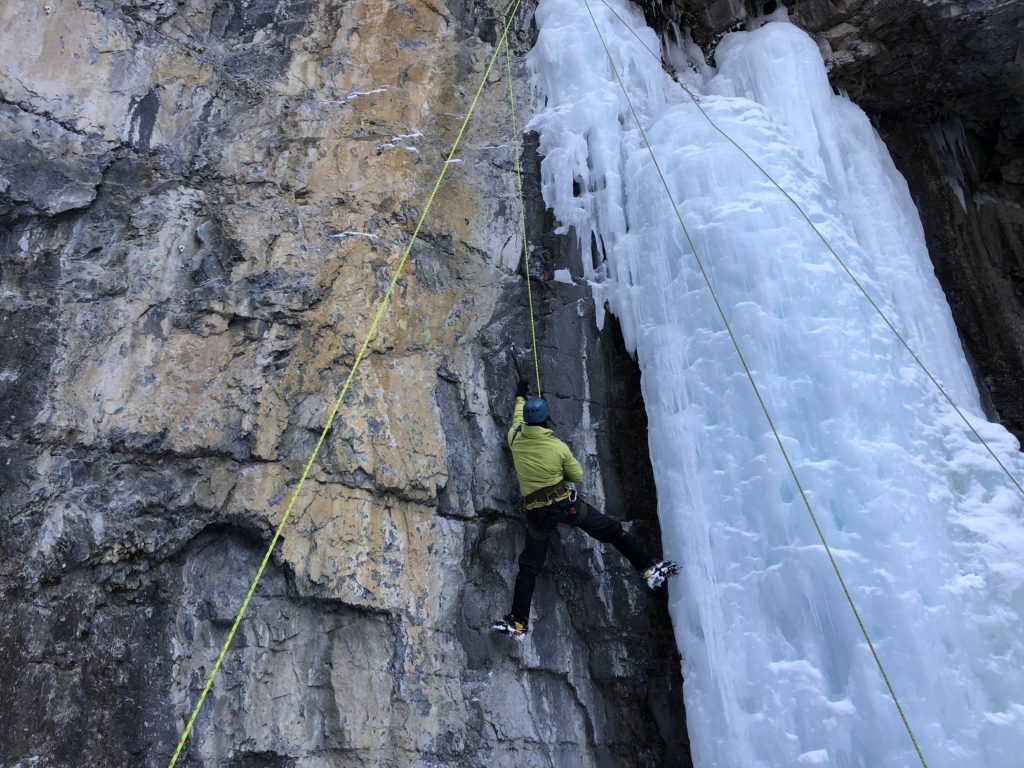
It was a cold day in the canyon at -20C. So I put to the test my recently purchased down jacket and combination of liner/mid-weight gloves. Thankfully they worked well, and I stayed relatively warm.
Sean lent me an older pair of mono-point crampons and arranged for a pair of demo Petzl Nomics that I could use for the remainder of the camp. Although I have a long way to go in improving my technique, I still felt the difference with the change in gear.
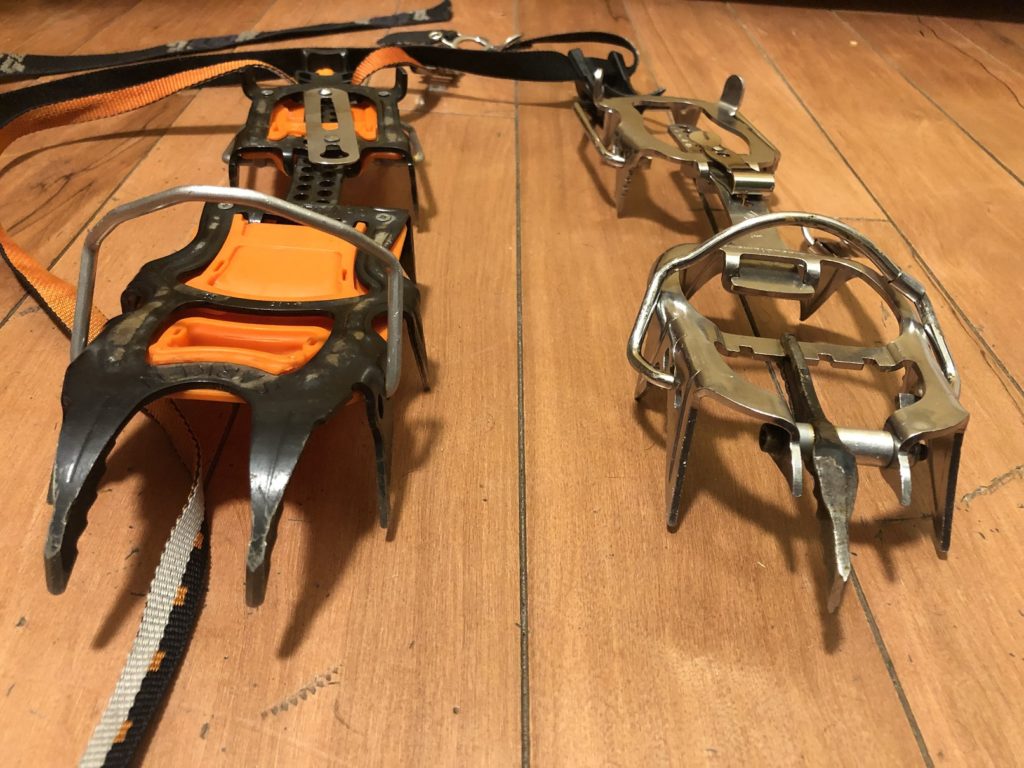
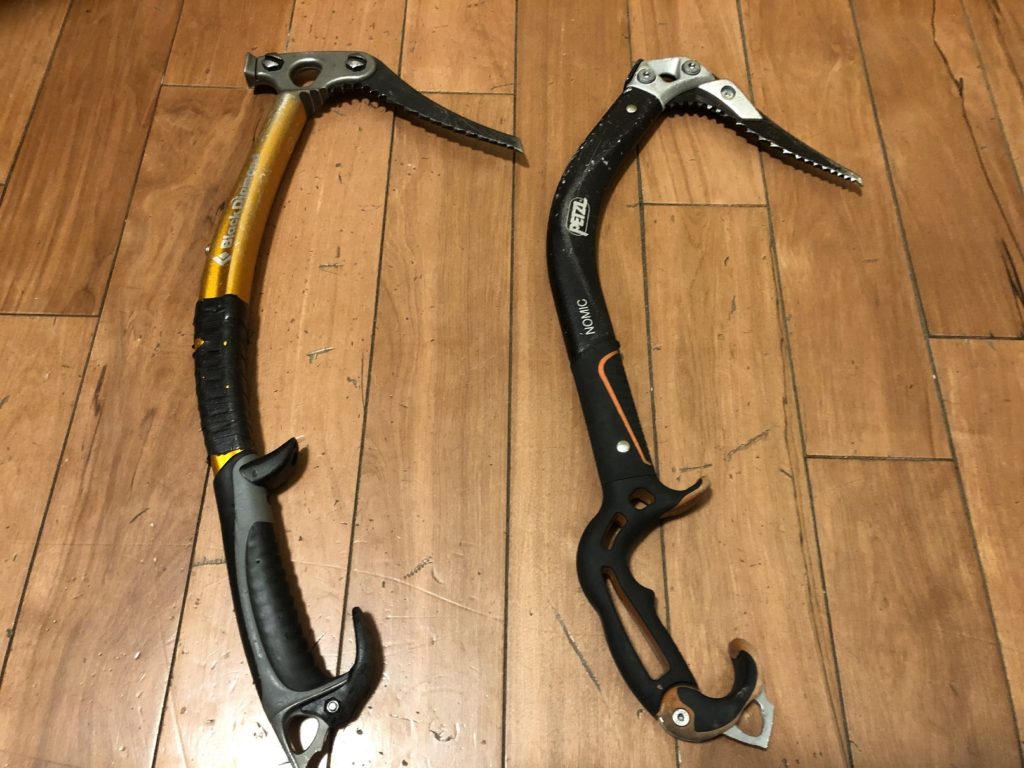
I did two laps on the Hers route and was conscious about each movement while trying to run through a checklist on the go –
Kicking – straight arm, level feet, parallel, feet wider than shoulder-width, crampons engaged
Swinging – belly to the ice, engaged core, arched back, tool and arm aligned, touch the ice and then swing, flick with the wrist
Although my goal was to check all the boxes, I would miss a few things (usually kicking), and Sean was patient enough to point it out.
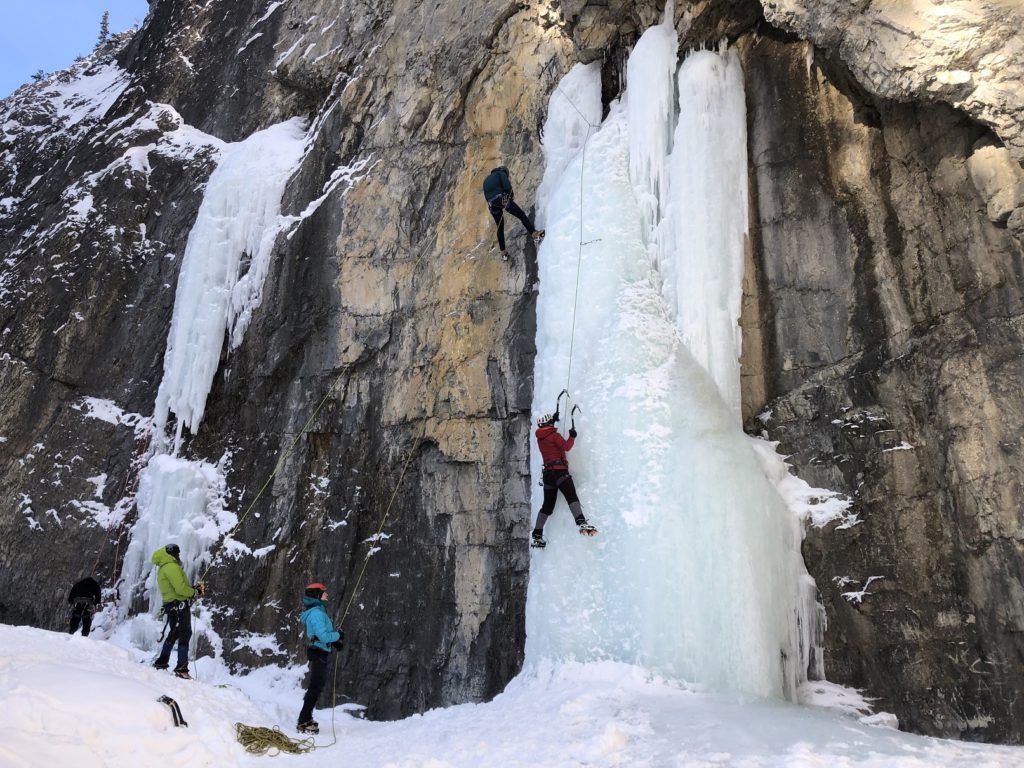
Later in the afternoon, Sean demonstrated the fixed-point lead belay technique (Page 154) and scenarios where we might use one.
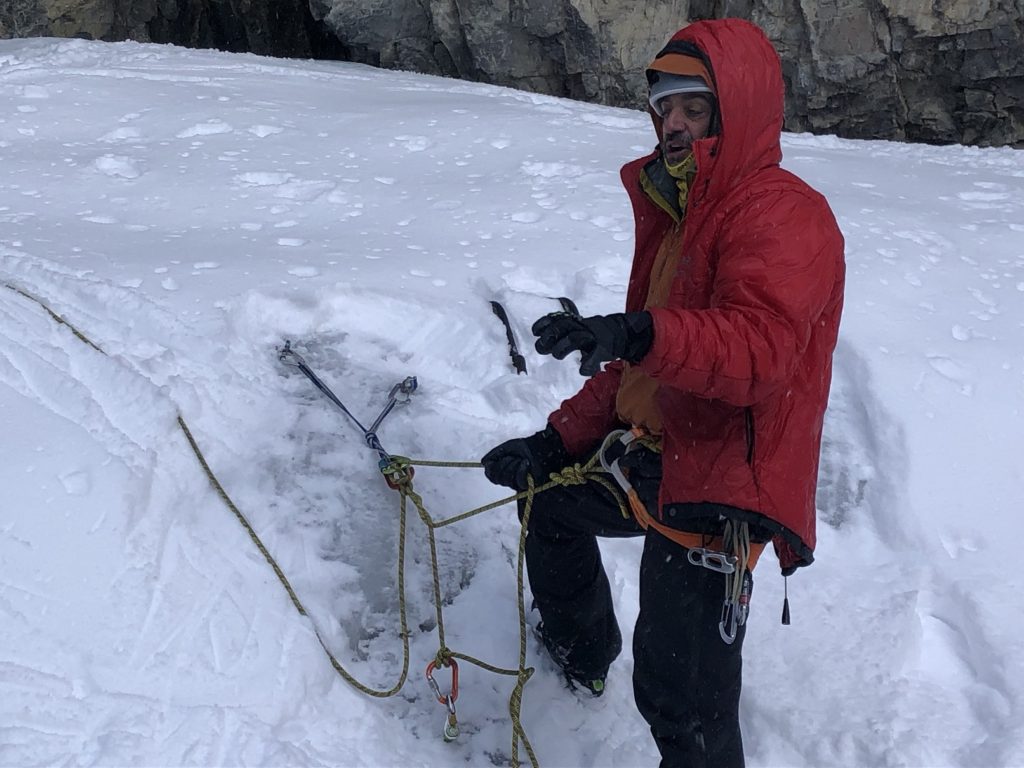
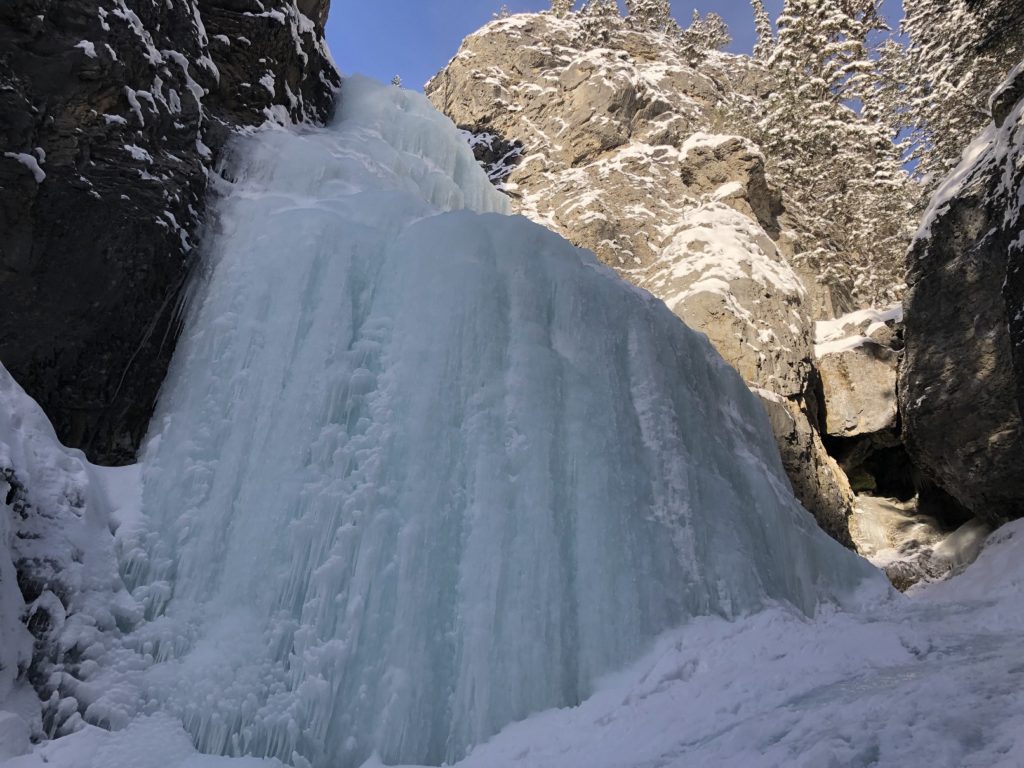
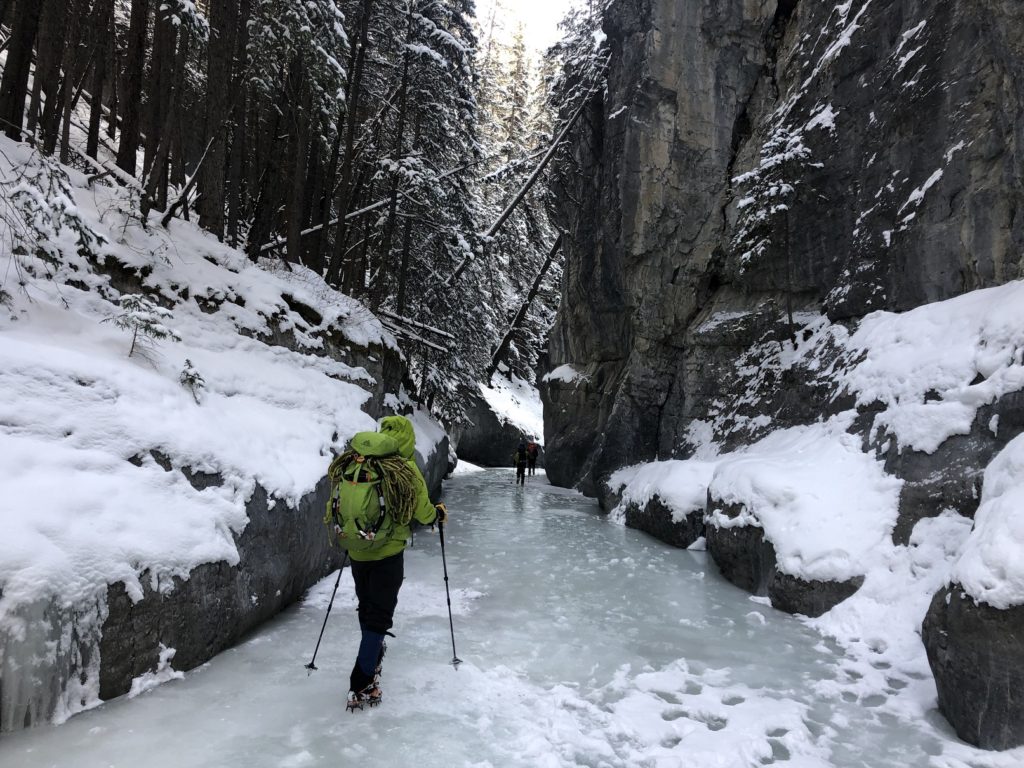
We wrapped up the day with V-thread (Page 84) and its different applications. Our group was spread along the trail to Grotto Falls as we tried to find some good ice to construct V-threads.
Around 2:45 pm, we started our hike back to the parking lot. It was another beautiful cold day in the Canadian Rockies and a fun day of learning some new skills.
Ice Leader Camp – Day 4 – Lower Junkyards
For the fourth day, we met again at the Grassie Lakes parking lot and did a short hike to the Lower Junkyards. Sean led a route in the middle and set up the top rope for three routes.
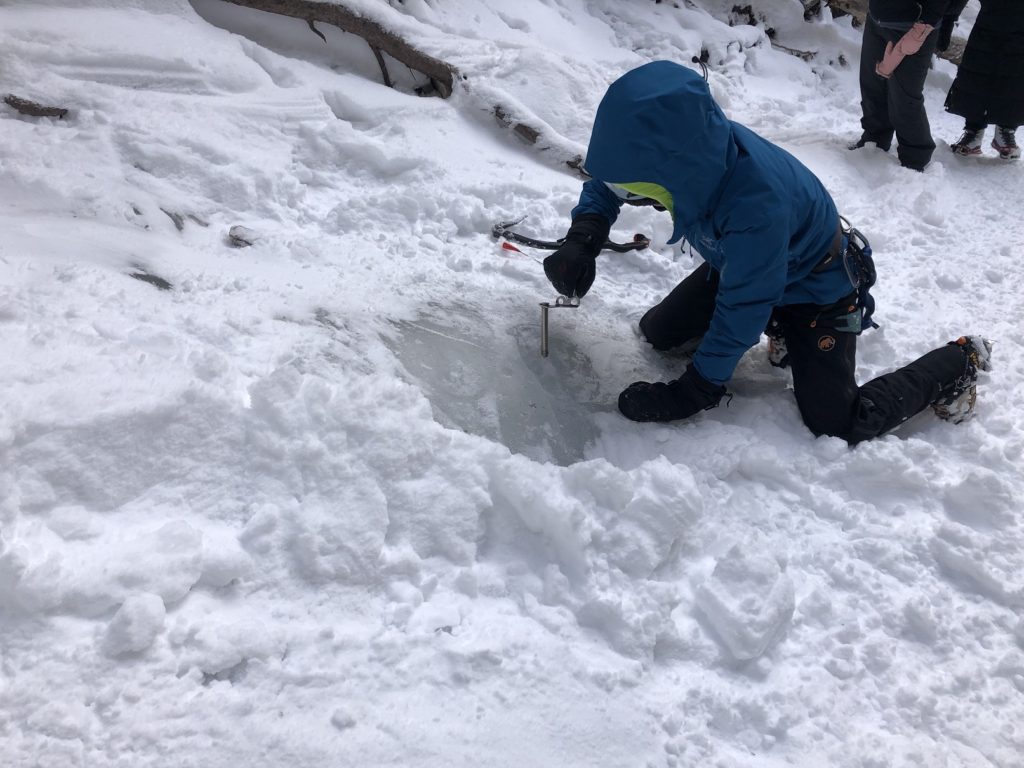
After our warmup climbs, we spent a good chunk of time on “Placing Ice Screws” (Page 143-147). Sean walked us through the basics of racking the ice screws on the harness, prepping the ice for screw placement and one-handed placements. While placing the ice screws, Sean shared his mantra of “push hard, turn slow.”
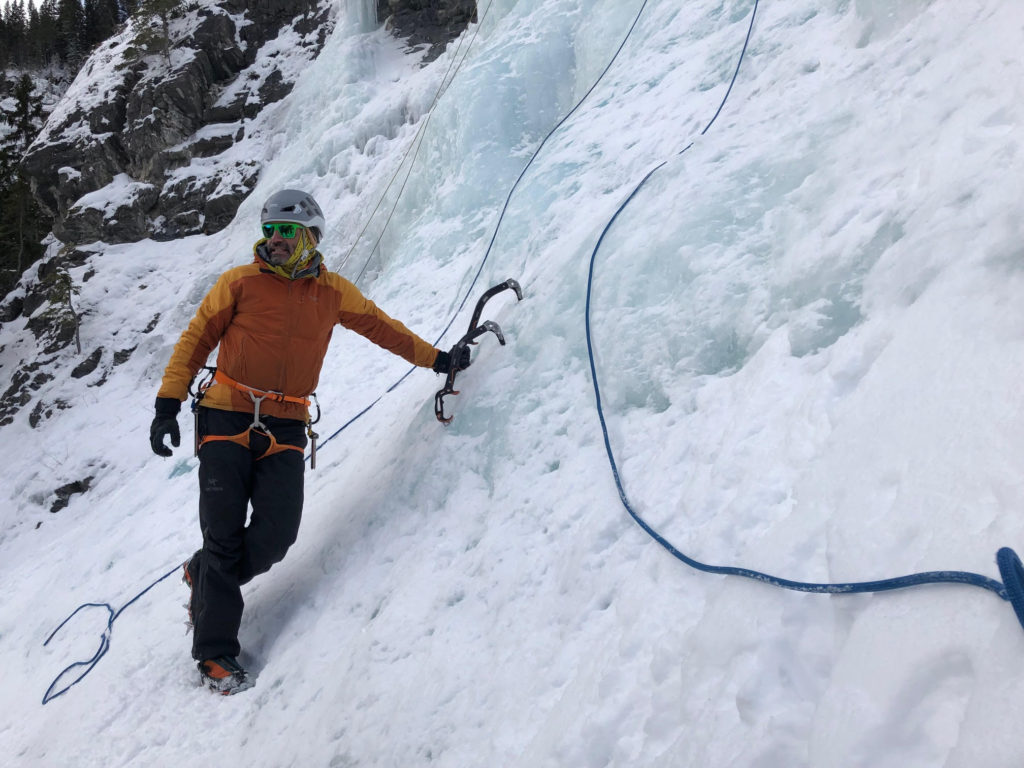
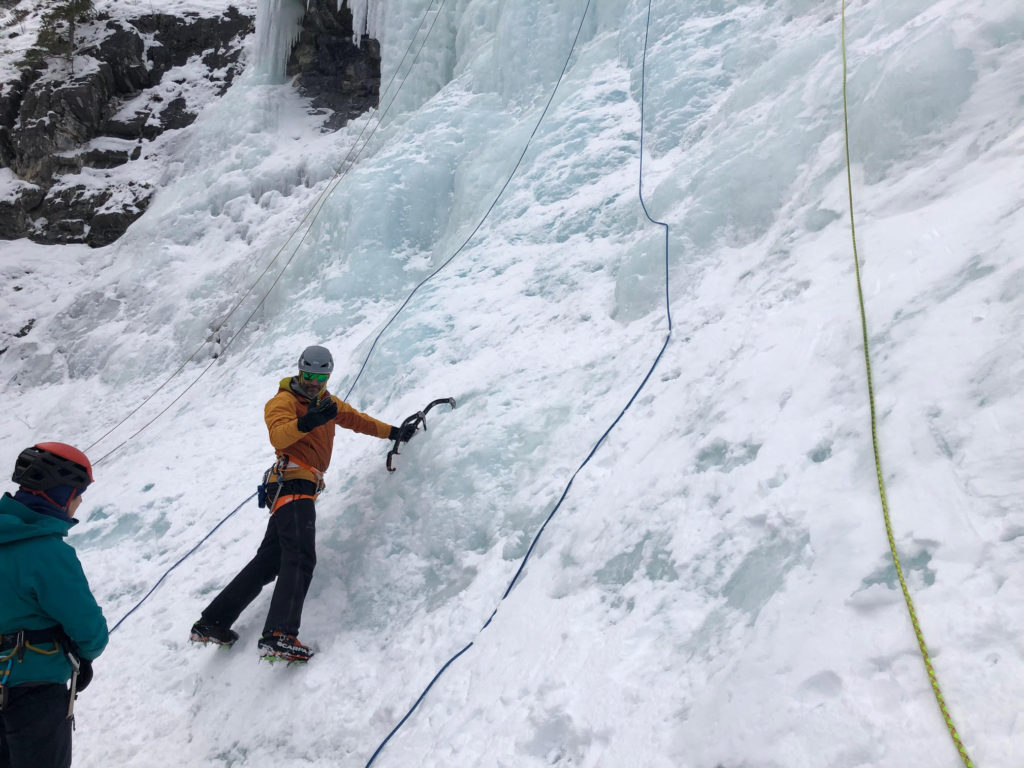
Later Sean demonstrated the side-step stance and front-point stance of placing the ice screws. Having an optimal body position was critical to not only placing the ice screws but also being secure and having less stress on the body.
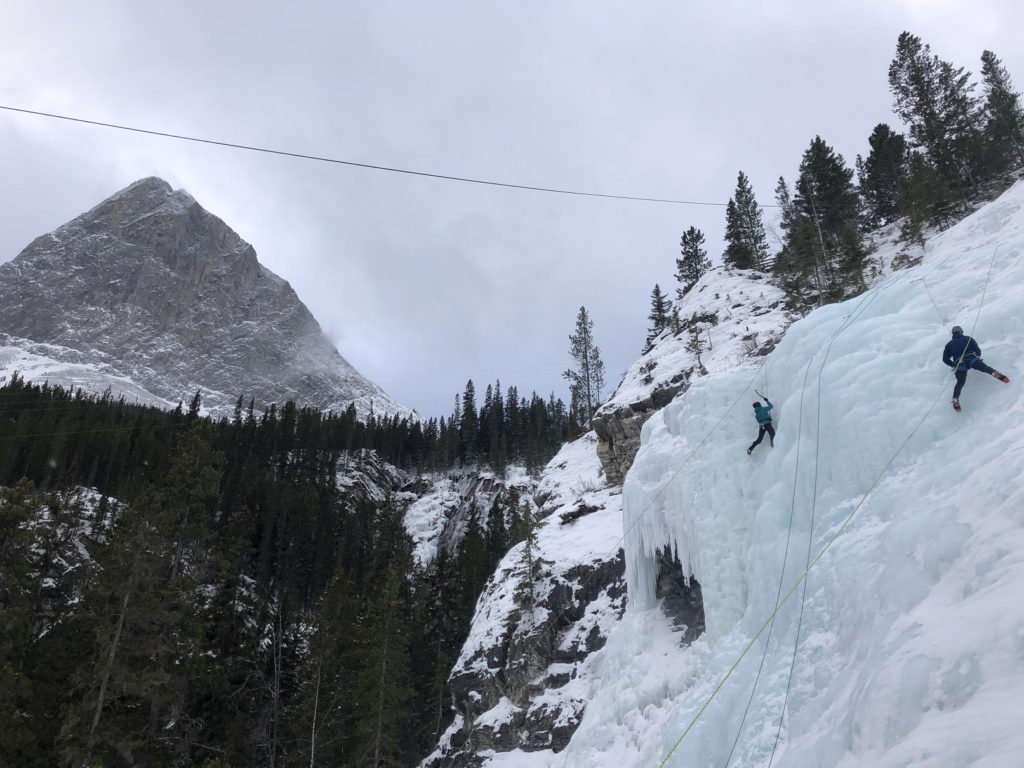
We did a couple of laps practicing ice screw placements with our right and left hand and in both side-step and front-point stance. Compared to previous days, it took a long time to do just one climb while placing and removing screws.
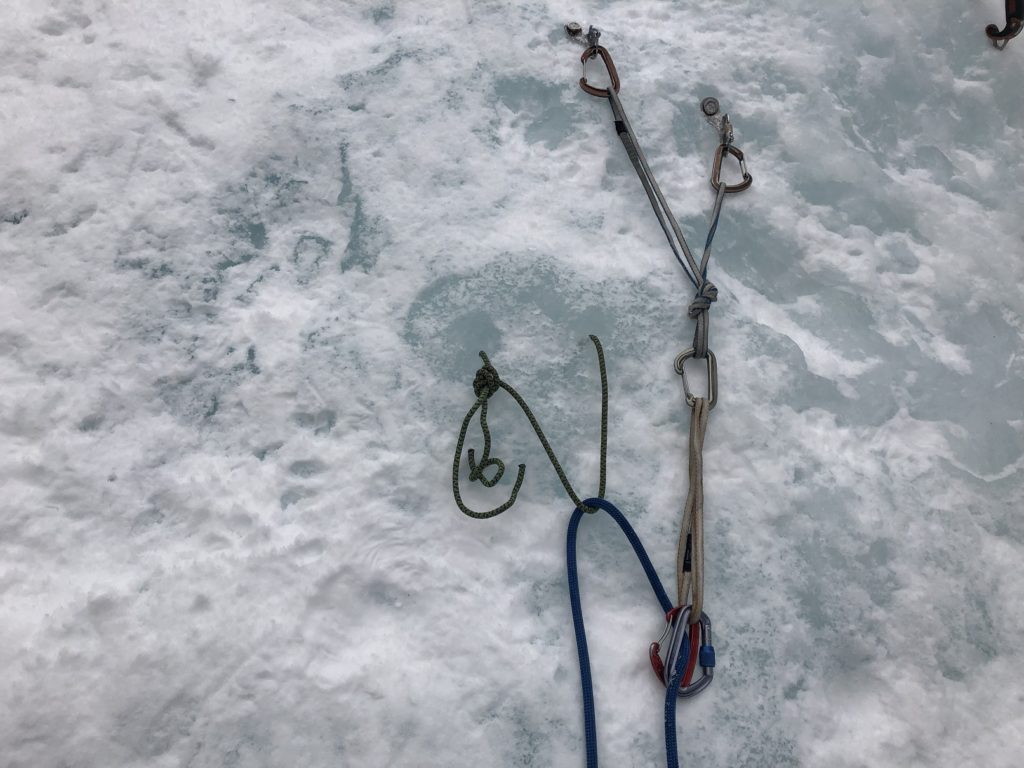
We wrapped up the day with a session on v-thread rappels (Page 103). We built a v-thread anchor and then backed it up with a two-point ice screw anchor. The key is to make sure that the locking biner clipped to the rope does not bear any weight, backup is not too tight or too loose and is not clipped to the actual v-thread. We wrapped up the day around 3:30 pm.
Ice Leader Camp – Day 5 – King’s Creek
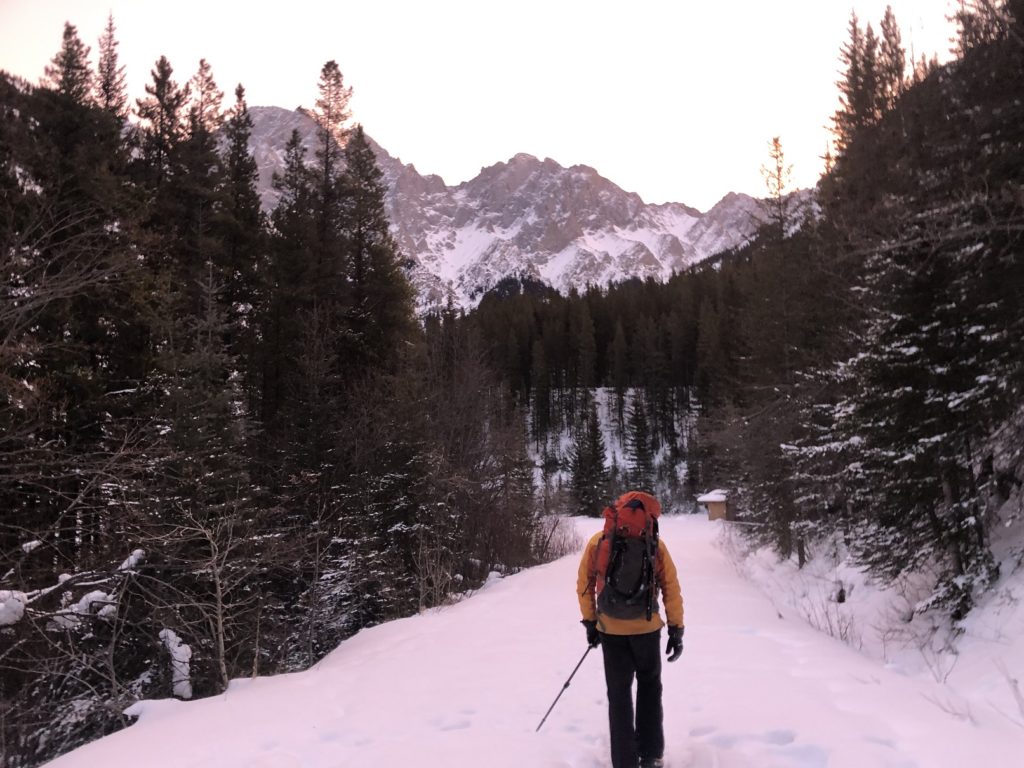
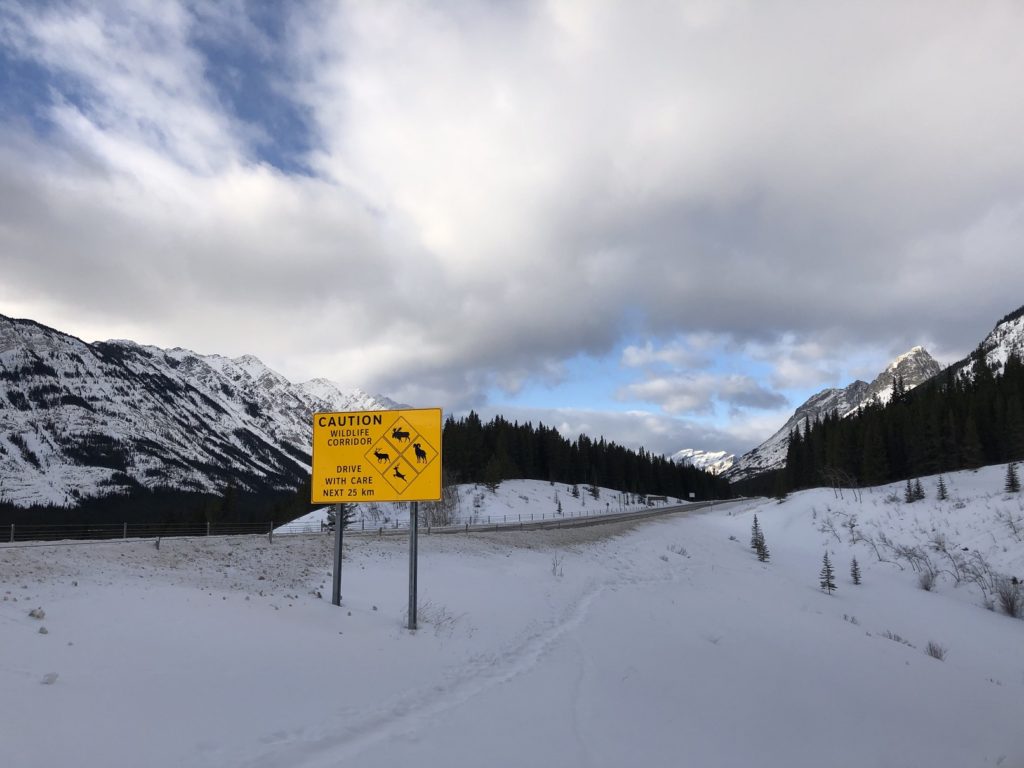
For our last day, we drove right to the end (seasonal closure) of Highway 40, parked on the shoulder and hiked for about 30 minutes to get to King’s Creek first ice flow. It was windy and cold in the canyon.
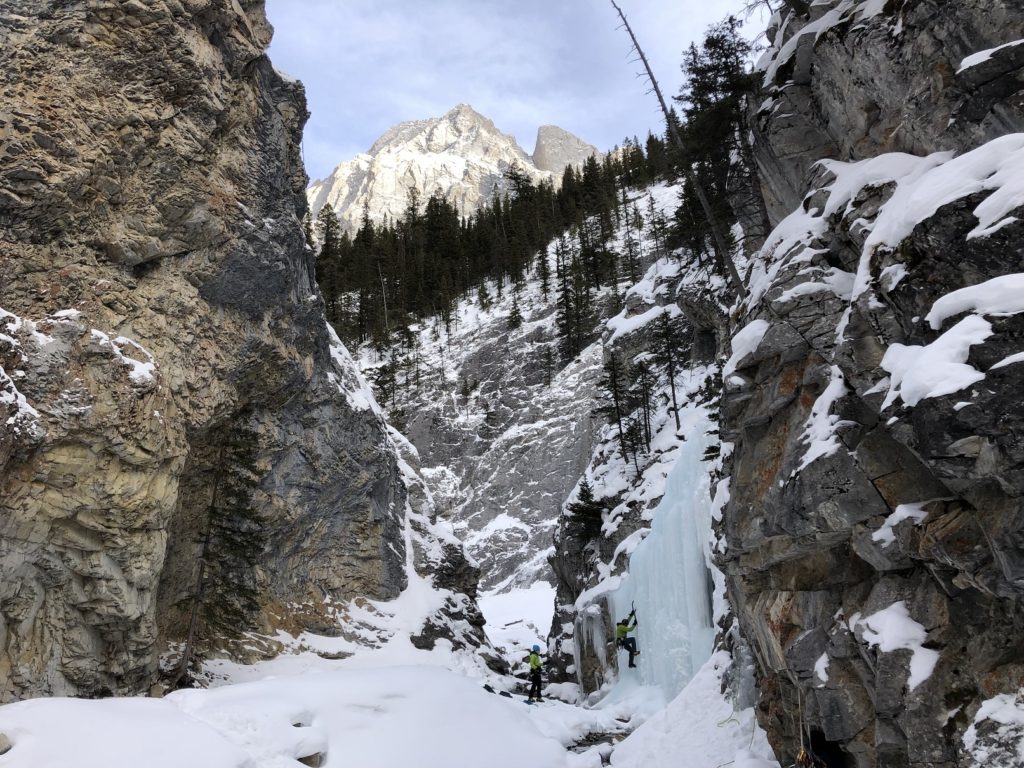
Here again, Sean led a route and set up top ropes for three climbs (WI2-3). After the warmup lap, Sean talked about key aspects of leading like line selection, protection strategy and rope management (Page 148-150). Then each of us took turns and practiced mock leads (Page 139).
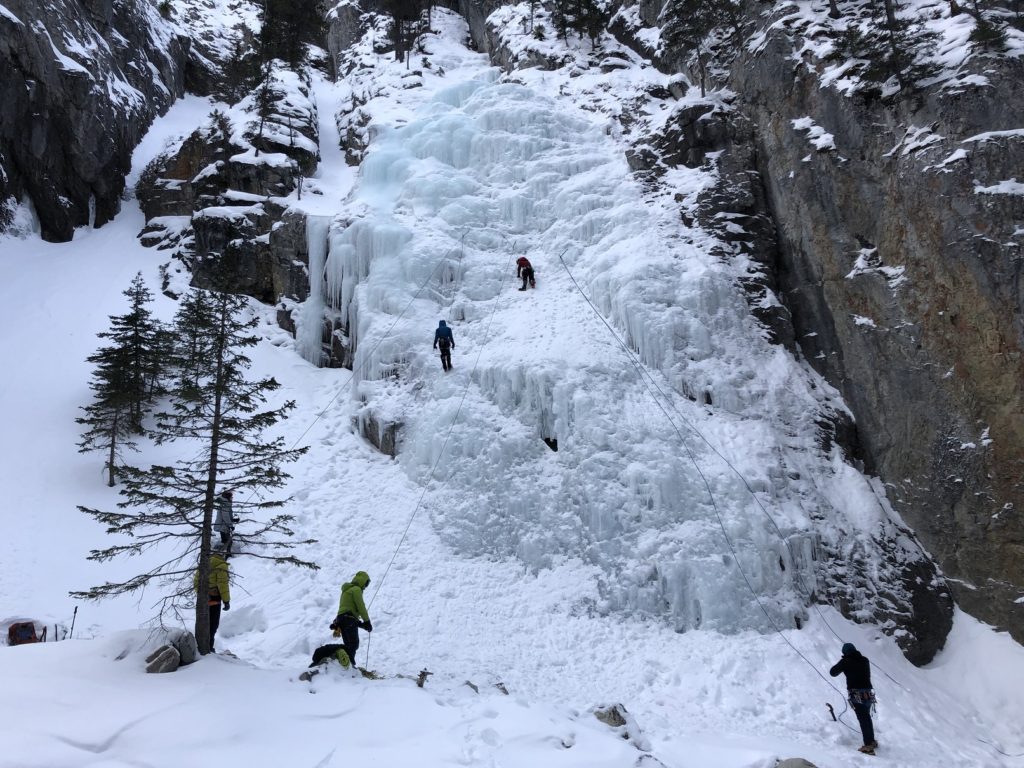
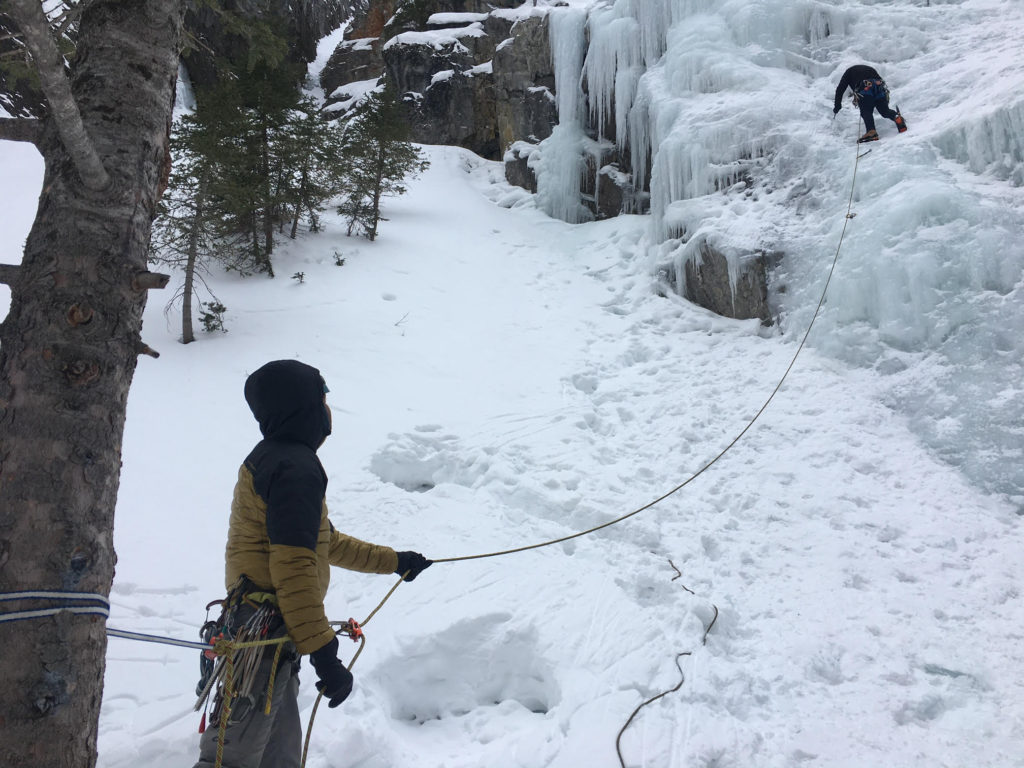
Later, Sean suggested that I could do an actual lead on the easiest route (WI2) if I felt comfortable. Soon I was on my first lead and placed my first ice screw with a comfortable stance on the ground. For my next placement, I was on the front points.
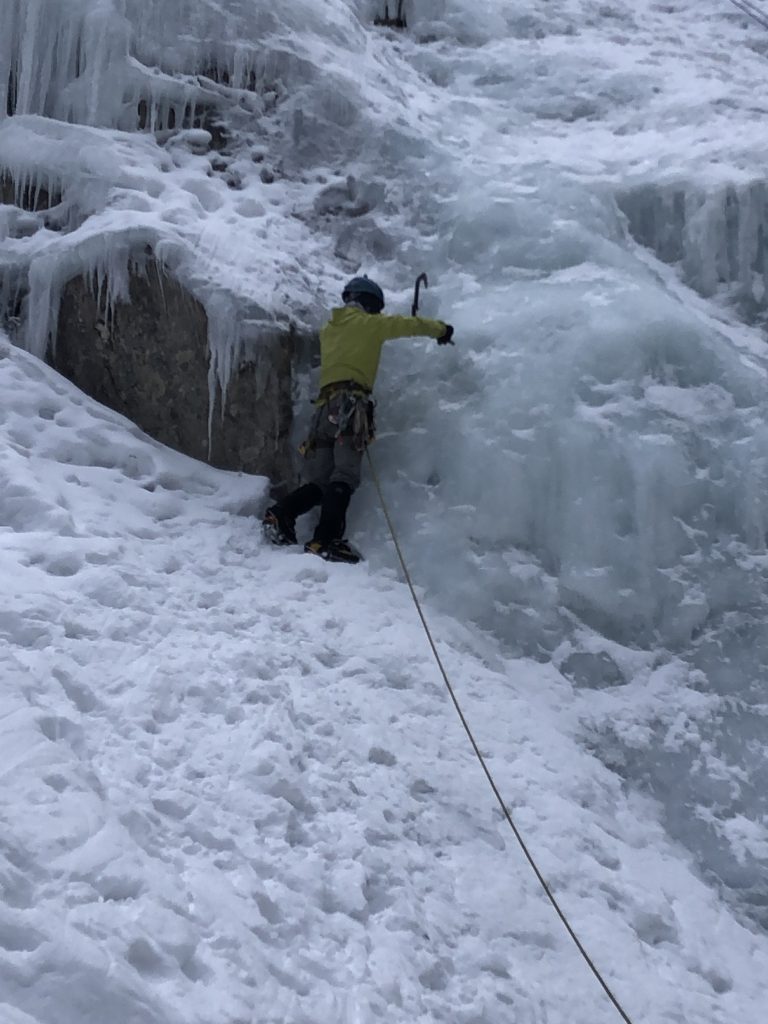
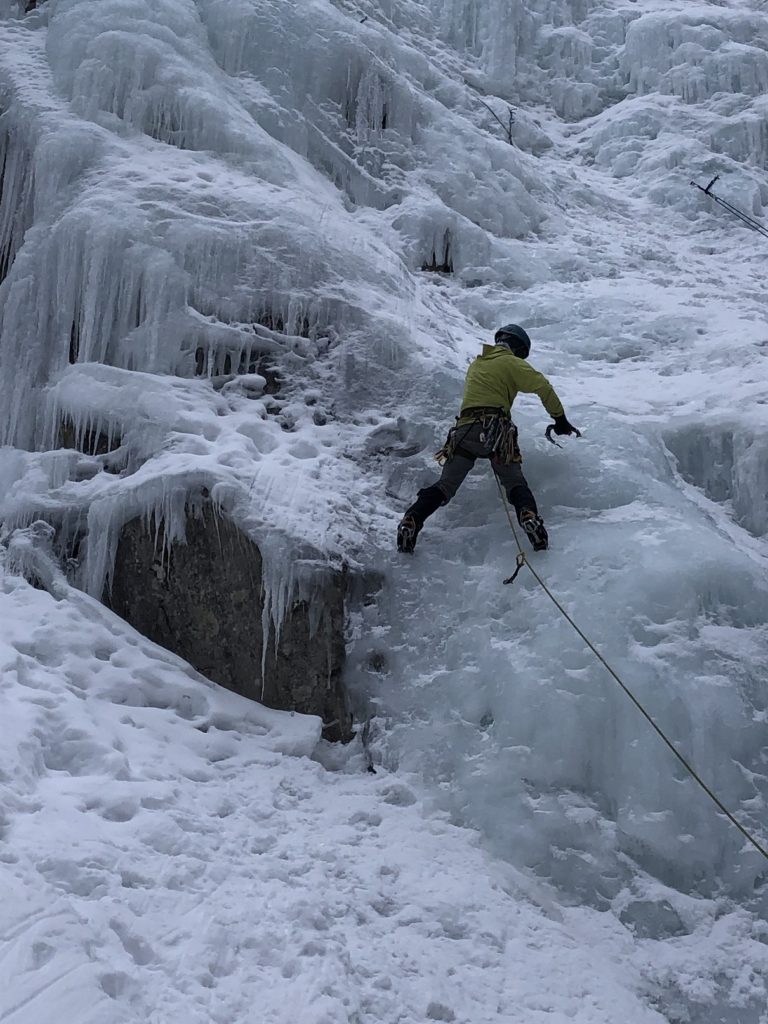
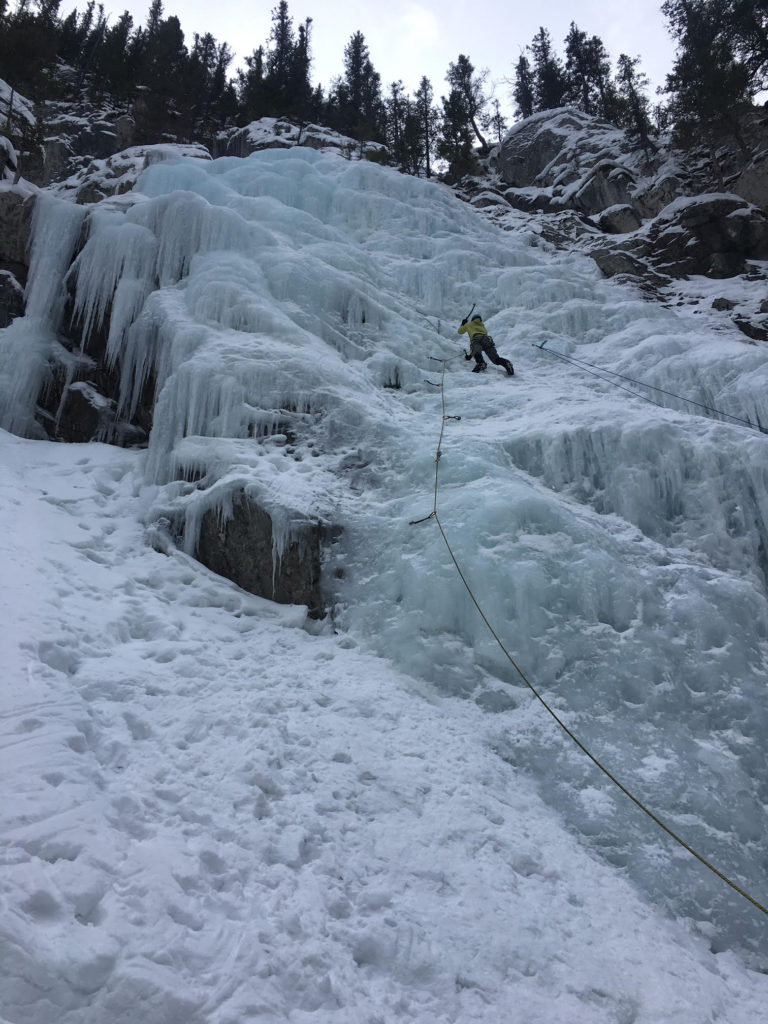
I found myself kicking and swinging more just to make sure I had a good crampon/tool placement. Higher up on the route I had some good side-step stances. I was placing an ice screw every 1-1.5 body length and placed about six ice screws before I got to the anchor.
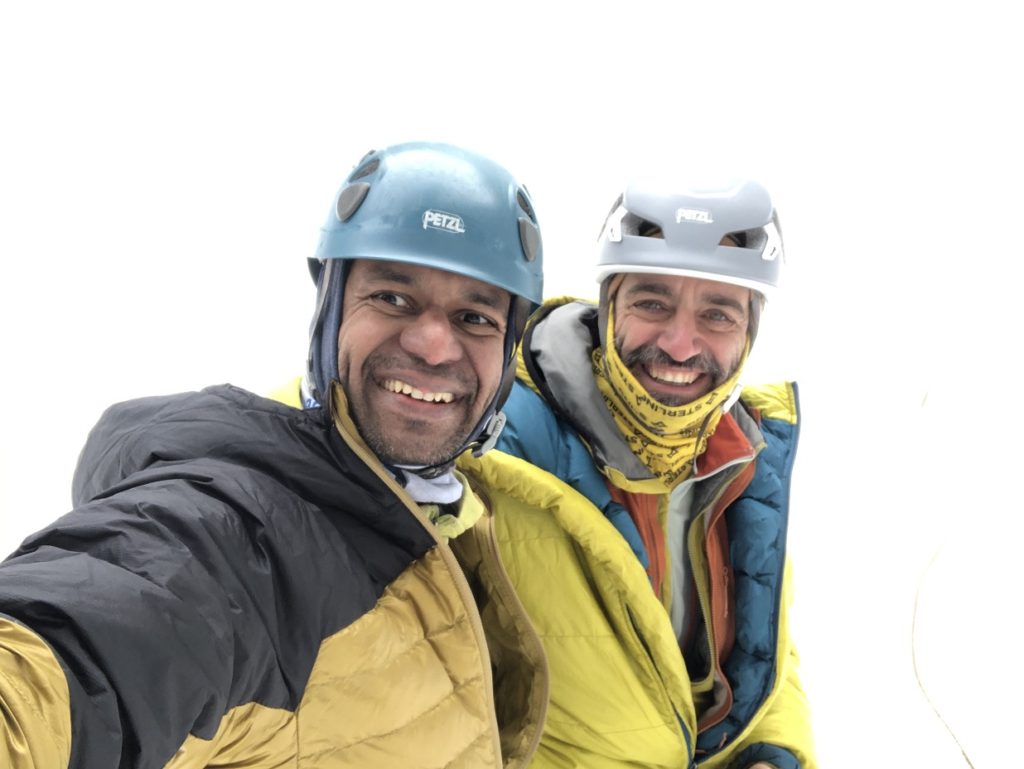
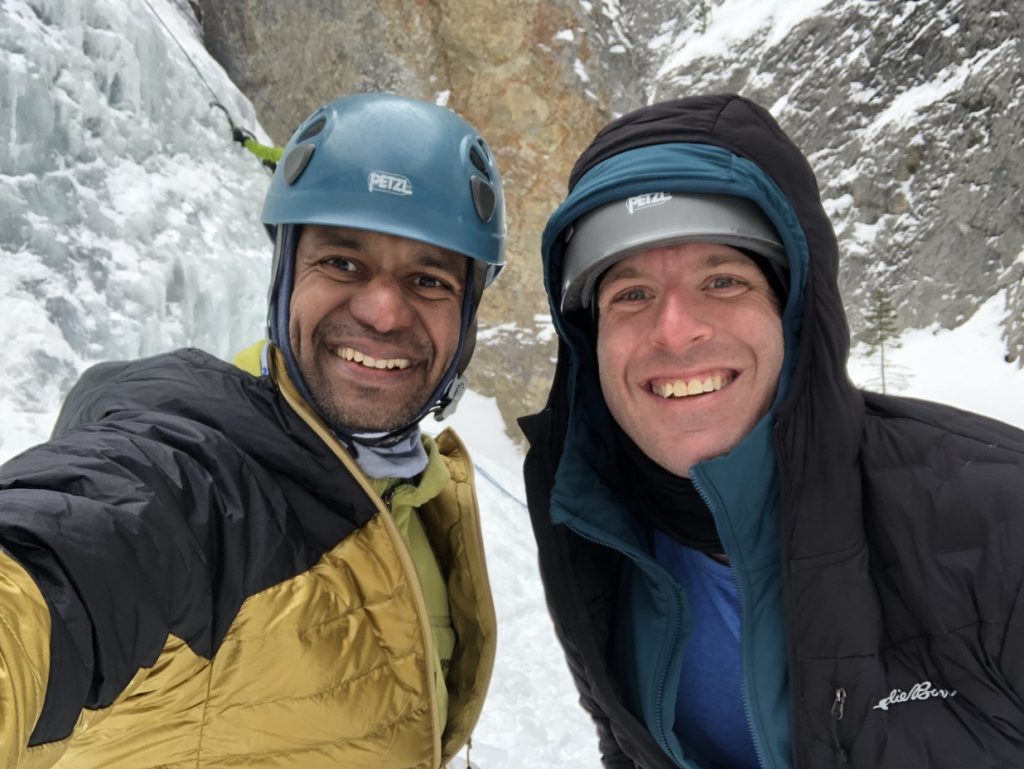
Once I was down, I thanked Sean for enabling me to do this first lead and Greg for belaying me patiently. Greg was up next and did an excellent job on his first lead.
We wrapped up around 3 pm and made our way back to the parking lot. We had a detailed debriefing session and each of us reflected on what we had learned and things we need to work on. My kicking had improved in the last few days, but it is still something I need to work on and I definitely need more mileage. And the only way to get some quality mileage is to come back to this amazing place in the Canadian Rockies. I am already making plans for my next trip to Canmore.
Sean did an amazing job with his course and exceeded my expectations. All of us got better at ice climbing and learned the basics of how to do it safely. As Ilze said during our debrief, Sean is not only a great climber and a guide, but he is also an excellent teacher. I would highly recommend Sean’s five-day Ice Leader Camp to aspiring climbers as well as the book How To Ice Climb.
Resources:
Sean Isaac: Website | How to Ice Climb Book (co-authored with Tim Banfield)
Glossary of climbing terms and Alpinist page on climbing grades
Climbing tips and other resources – Alpine Savvy
Avalanche Canada Website
Disclosure: The links I have shared in the post and under the Resources section are not affiliate links.
Did you enjoy reading this post? Please subscribe to get weekly updates. Please share your feedback in the comments section below. Thank you!


