
In July 2018, I climbed the Blackcomb Buttress (Alpine rating: PD, low fifth) route on Blackcomb Peak with Slawomir. Since then, I wanted to climb the Dead on Arrival (DOA) ridge (Alpine rating: PD+, 5.7), which goes to the lower East peak on Blackcomb. So, earlier in the season, when Neha asked if I was interested in this route, it was an easy yes.
We left Vancouver around 7 am and arrived in Whistler around 9:15 am. We parked in Parking Lot #1 and walked to the Blackcomb Gondola/guest services to get our gondola ticket.
Approach
I assumed that there was a cheaper (<$50) Blackcomb-only gondola ticket we could purchase (like I had done in 2018). We were shocked to find that the only ticket available to go up was the Summer Alpine Experience Ticket ($105), which granted access to both Blackcomb and Whistler mountains, including all lifts, the Peak 2 Peak gondola, and more.
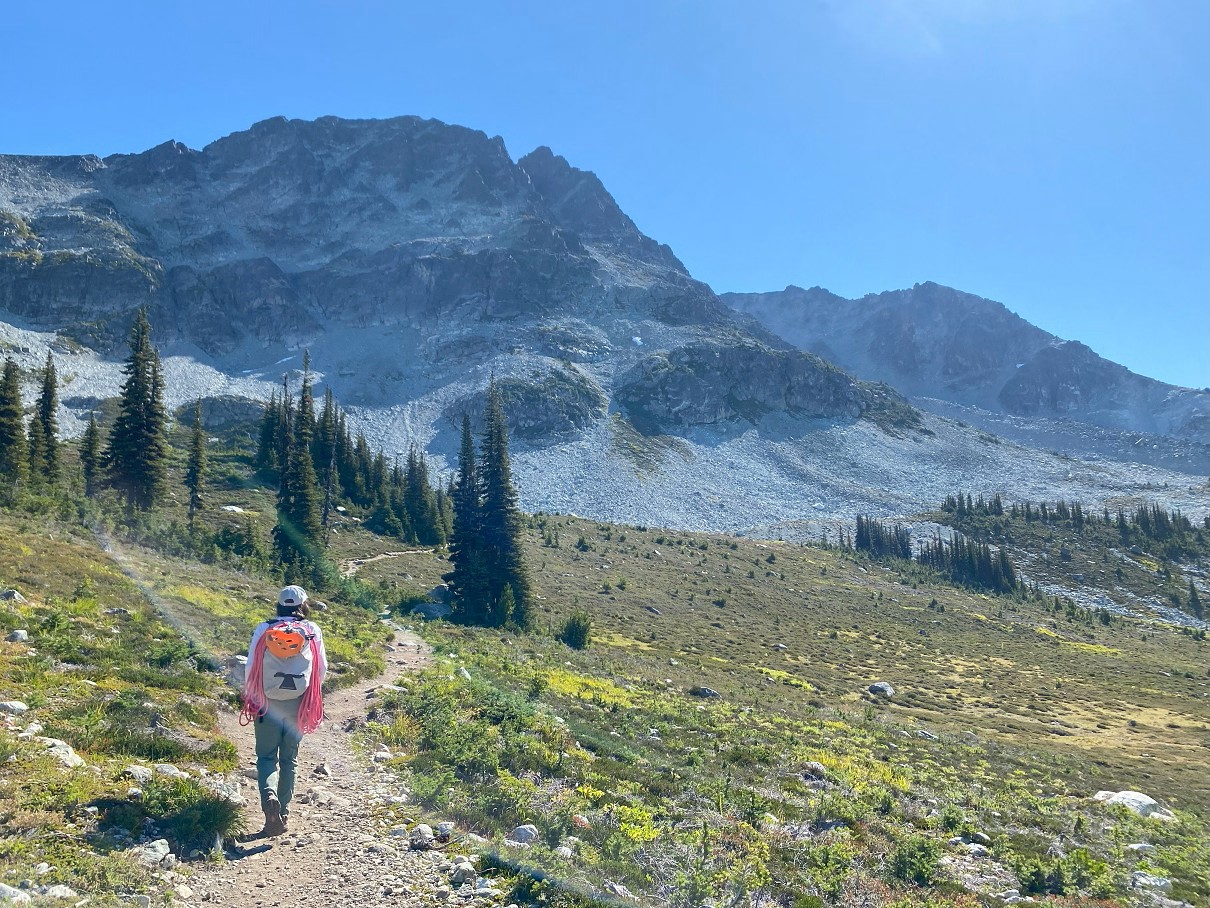
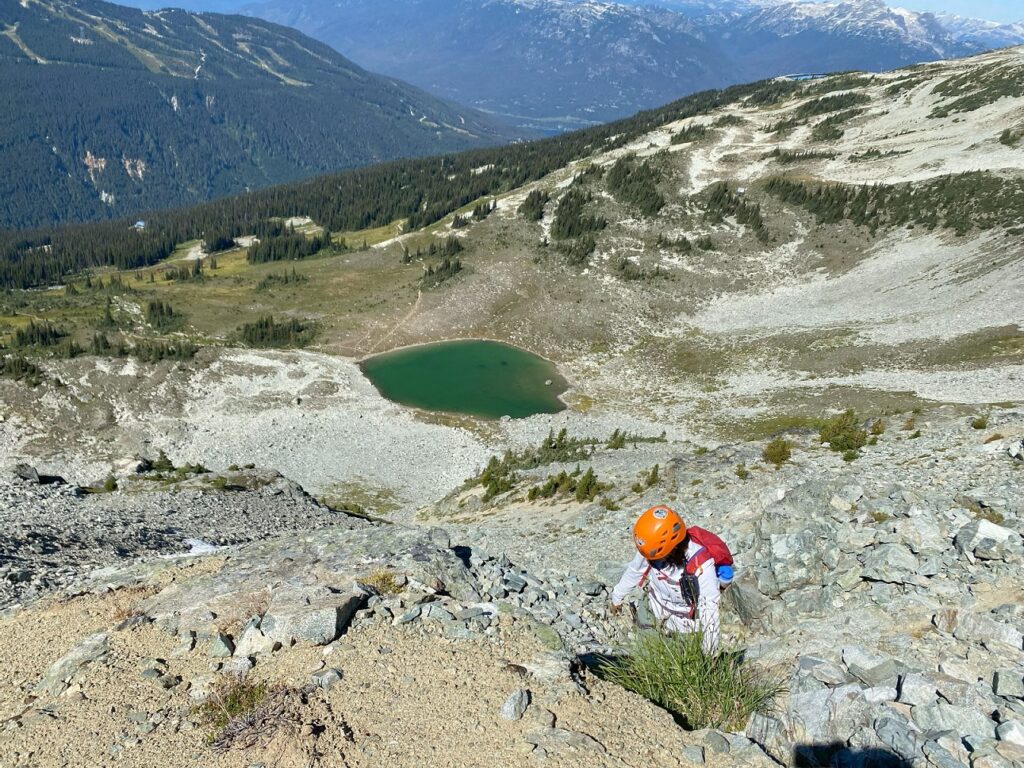
For a second, I considered hiking up, but it was already late, and we had not planned for the hike. We reluctantly purchased the ticket and took the Gondola up to Rendezvous Lodge on Blackcomb. Around 10 am, we started the hike, and it took us about forty minutes to Blackcomb Lake.
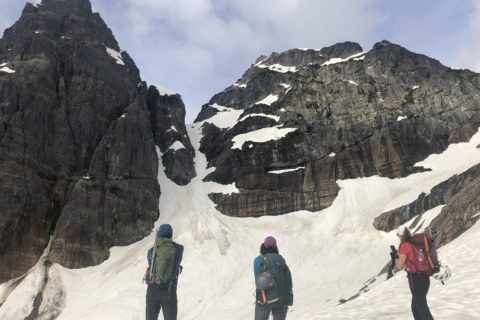
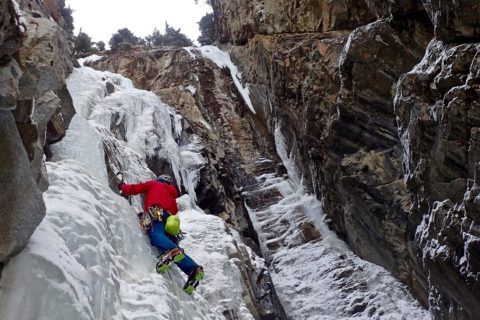
After a short break, we put on our harness and helmet and climbed up the talus slope leading to the base of both the Blackcomb Buttress and the DOA routes. It was a hot day, and even a minute in the shade was a relief.
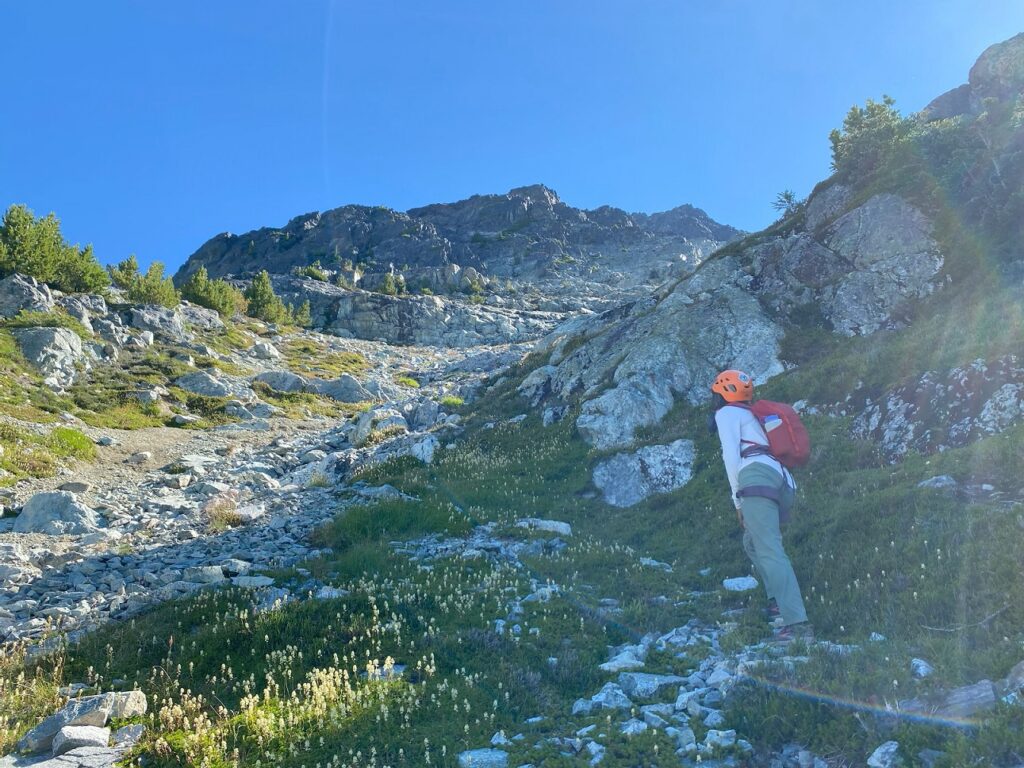
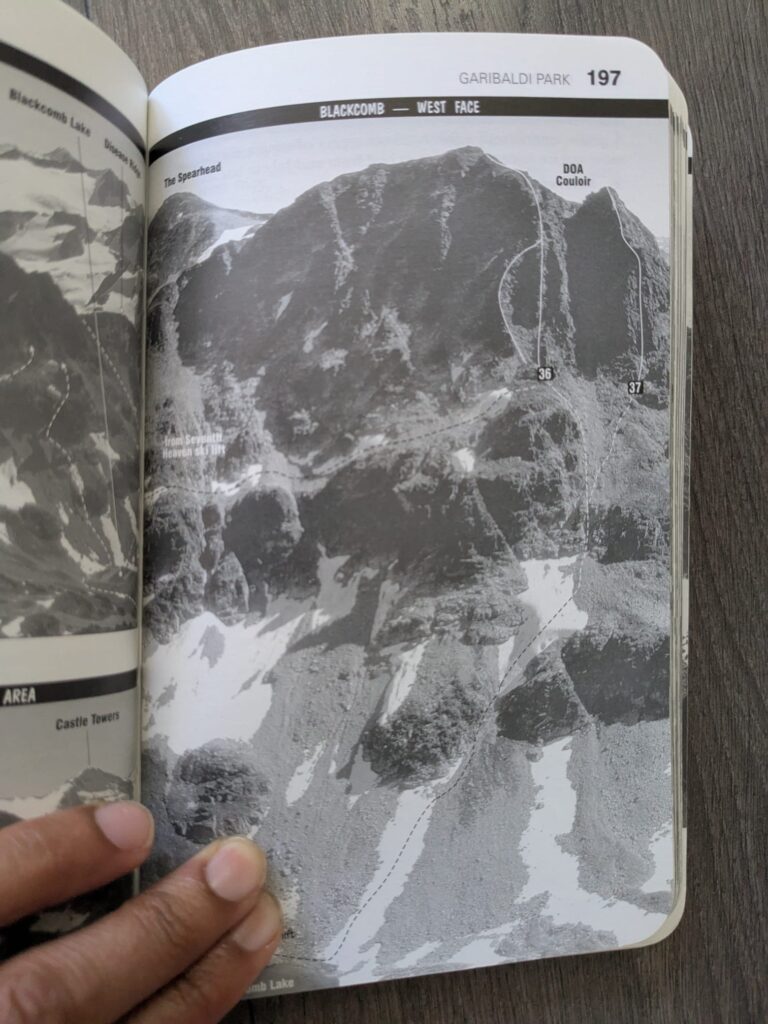
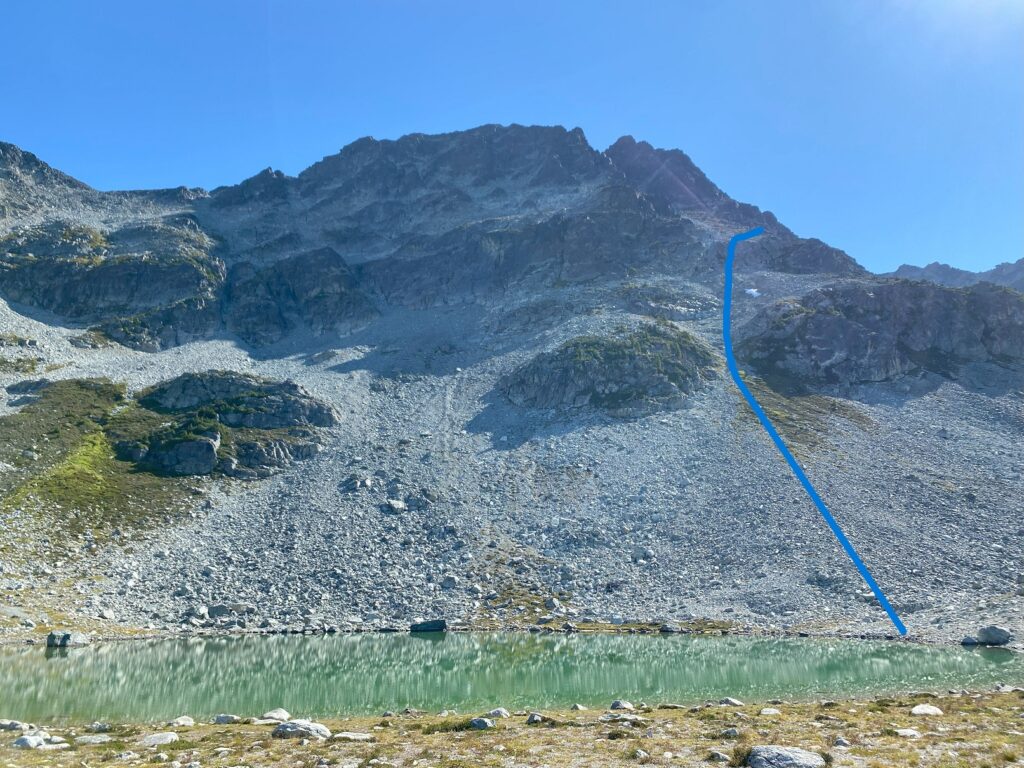
We used the picture of the route from Alpine Select and some of the terrain features (snow patch, rock band, etc.) as a reference to figure out our way to the base of the climb. Once the DOA Couloir was in sight, we traversed right to the base of what looked like a good route. We saw a few different routes on both sides, but we decided to stick with this one.

The start of the climb/scramble was at around 2190 m, and was higher than the start of the Blackcomb Buttress route. From the lake, it had taken us just under an hour to hike up to the base of the climb.
Dead on Arrival Climb
After a long break, we roped up. We had a 50 m rope, and we both took in coils, leaving about 15-20 m rope between us. In terms of gear, we had a single set of cams and a set of nets with some alpine draws, double-length slings, anchor material and other personal gear. We also had a pair of Rocky Talkie radios and a Garmin inReach.
Considering the terrain, the idea was to simul-climb and place gear as needed. Neha and I climb together every week in summer and have done several trips in the alpine, so we know each other well in terms of our climbing ability. But if it were anyone new or someone not as comfortable with this kind of terrain, I would pitch out the climb, considering the risks.
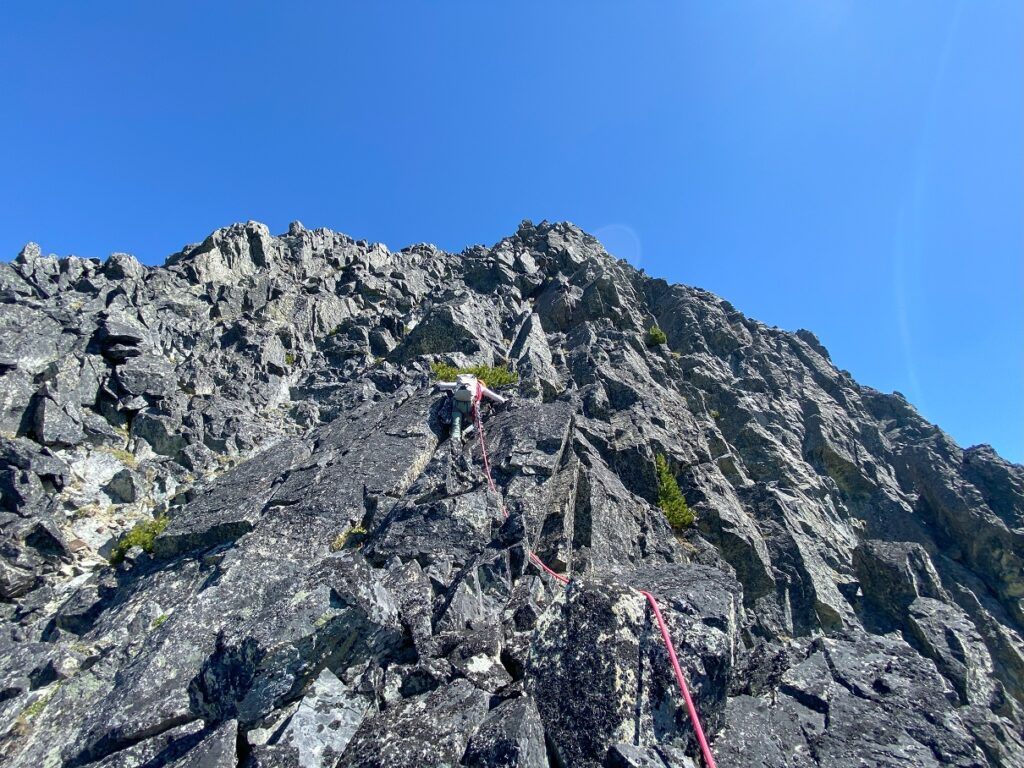
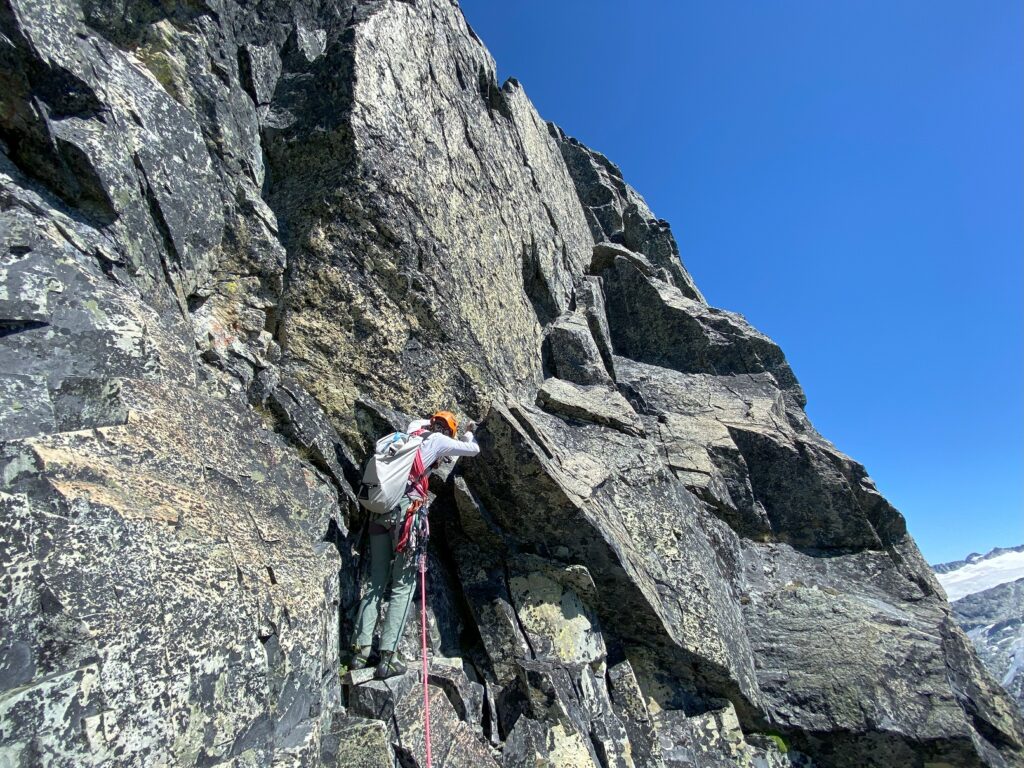
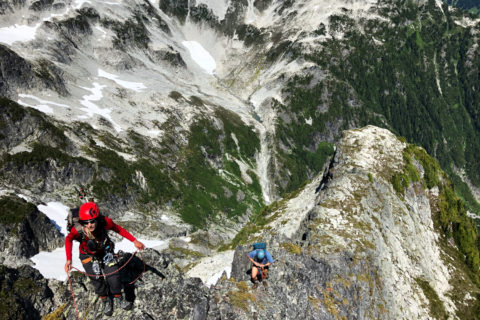
Over the next hour, we scrambled up mostly fourth-class terrain with some sections of low fifth-class climbing. The rock quality was okay, and we had to be cautious with some loose rocks/blocks. There were always good ledges to stand on and review the next section of the route.
Final 5.7 Climb

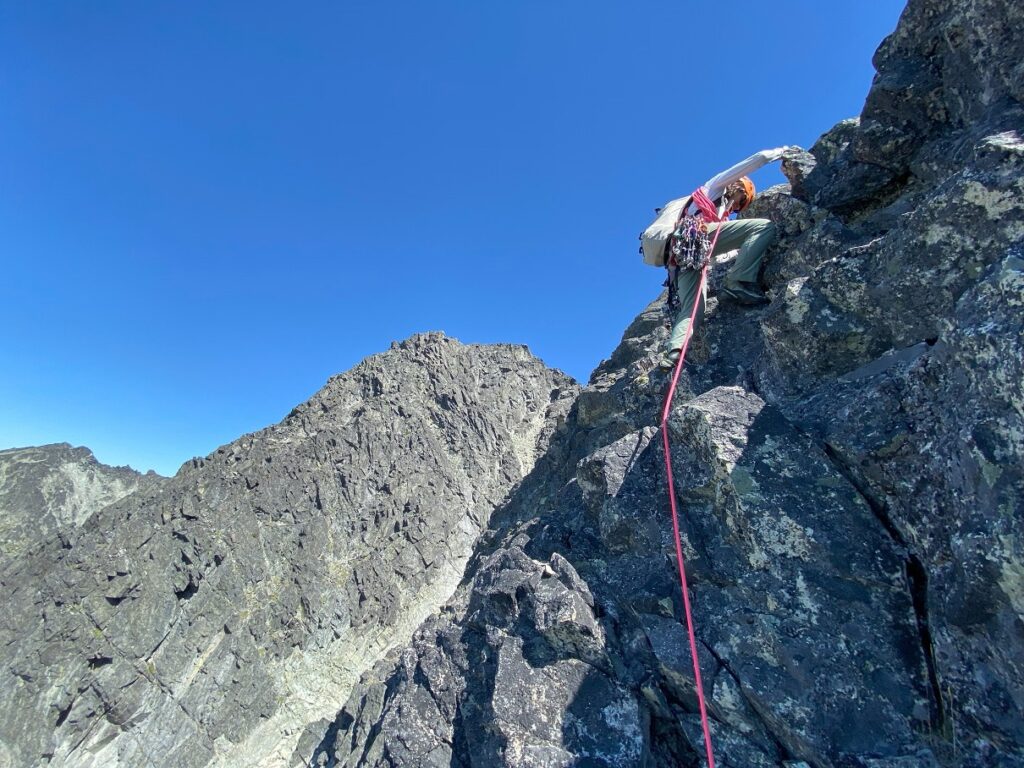
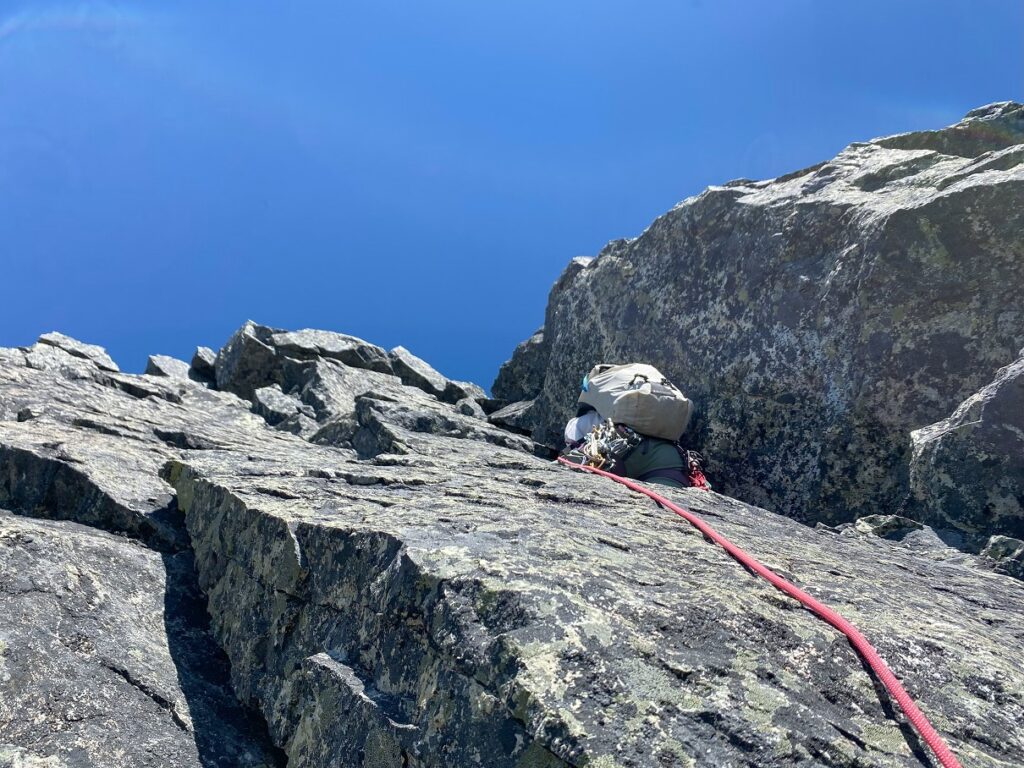
Around 1:30 pm, we reached the base of the crest – final climb (rated 5.7 in Alpine Select). We checked route options on the other side of the crest (couloir side), and it seemed more exposed. So, we went up on the right, which had some prominent cracks.
We climbed up the lower section to a small ledge – a good belay spot. From here, Neha took the lead and climbed up 20 m, placing a couple of cams. Once secured, she belayed me to the top.
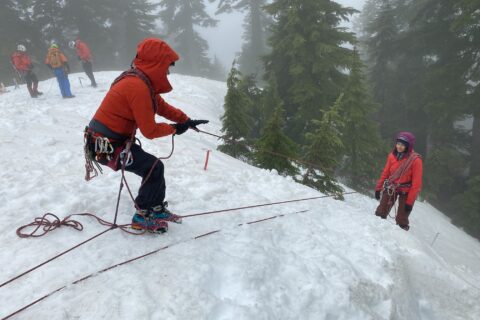
Before heading to the summit, we took some time to practice different types of alpine anchors using gear/rope and how to extend the anchor to get closer to the ledge.
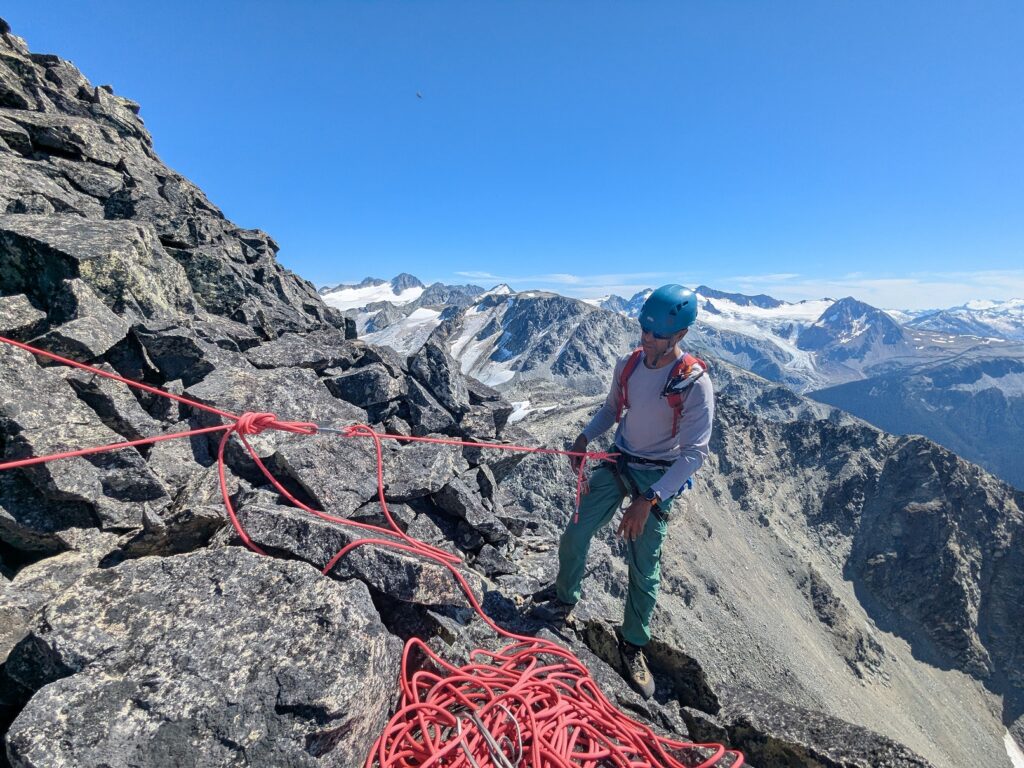
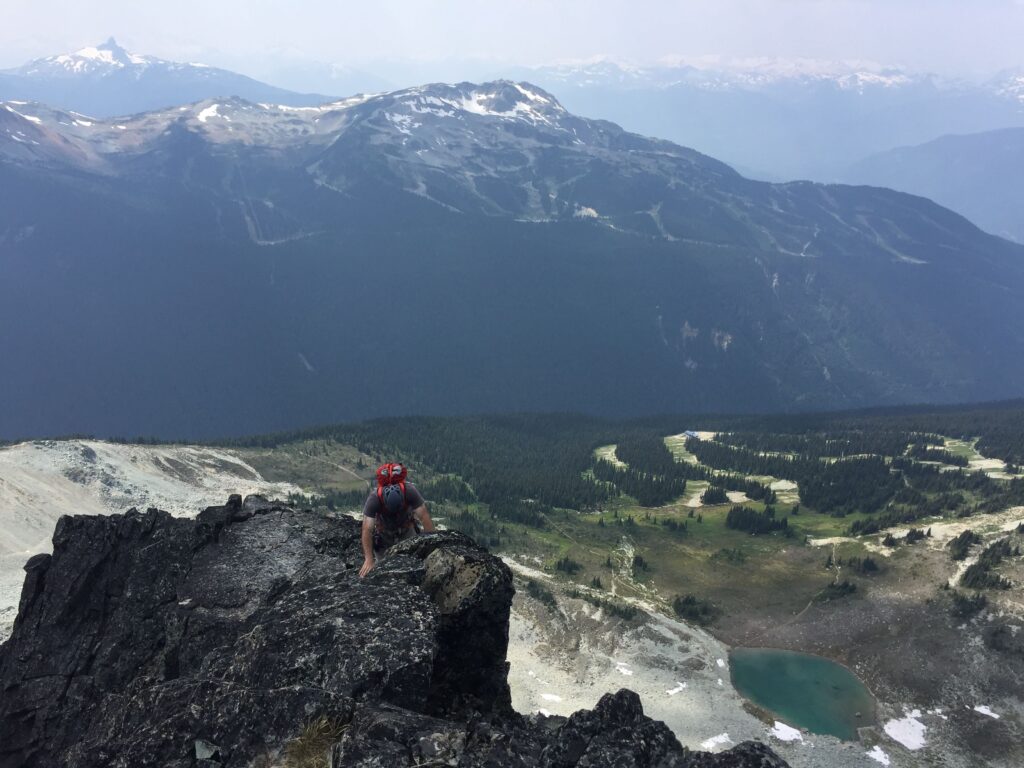
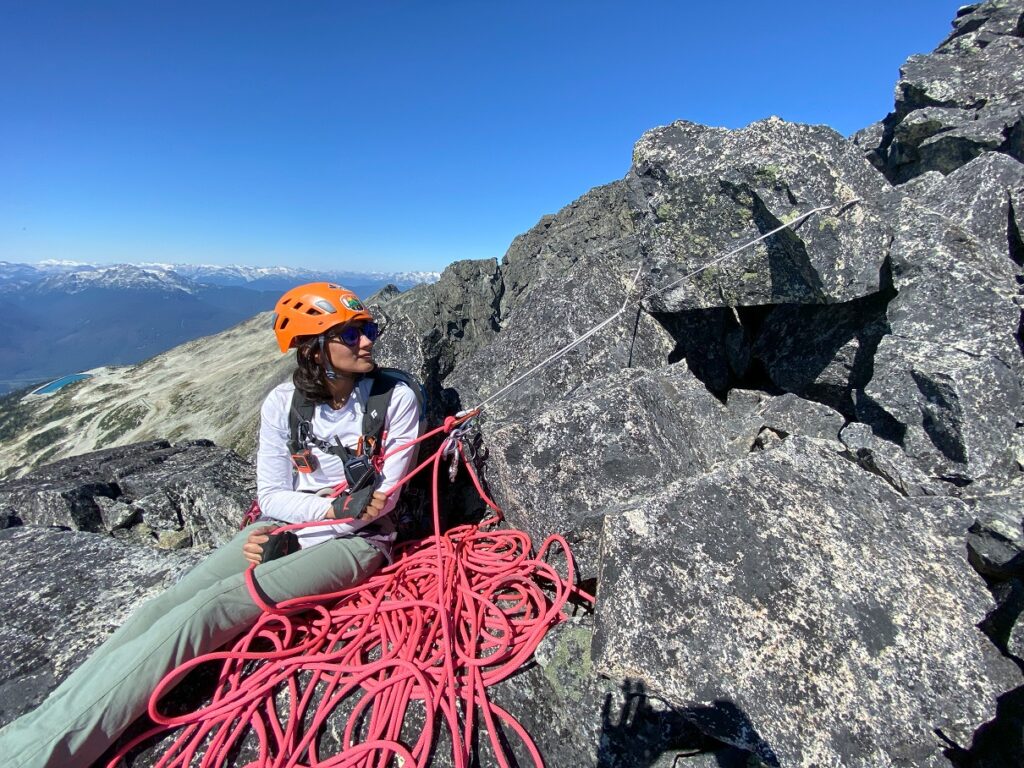
From the base of the climb, it took us just under two hours of scrambling and climbing to get to the summit of the Blackcomb (lower East) Peak (approx. 2370 m).
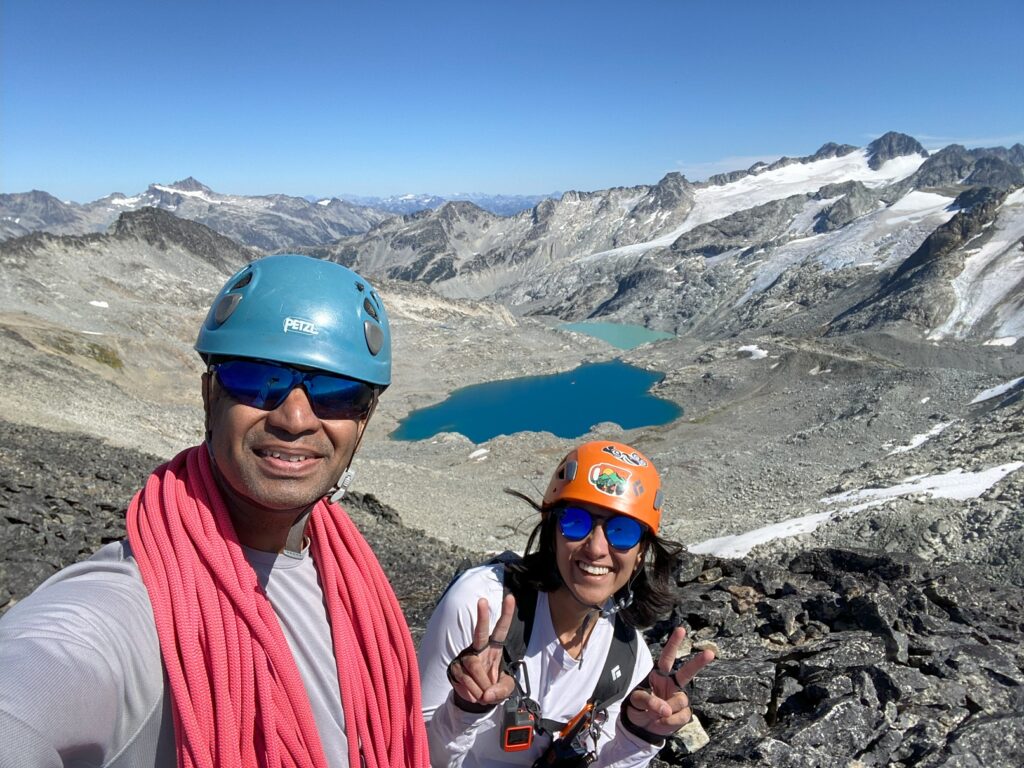
It was a clear day, offering amazing views of the alpine lakes and mountains in the region.
Descent

After a long break, we descended the Southeast side of the mountain to the col between Blackcomb Peak and Disease Ridge. It was a slog coming down the talus field. I still remember the sore knee I had for days after descending this section too quickly back in 2018. So, I was cautious this time.

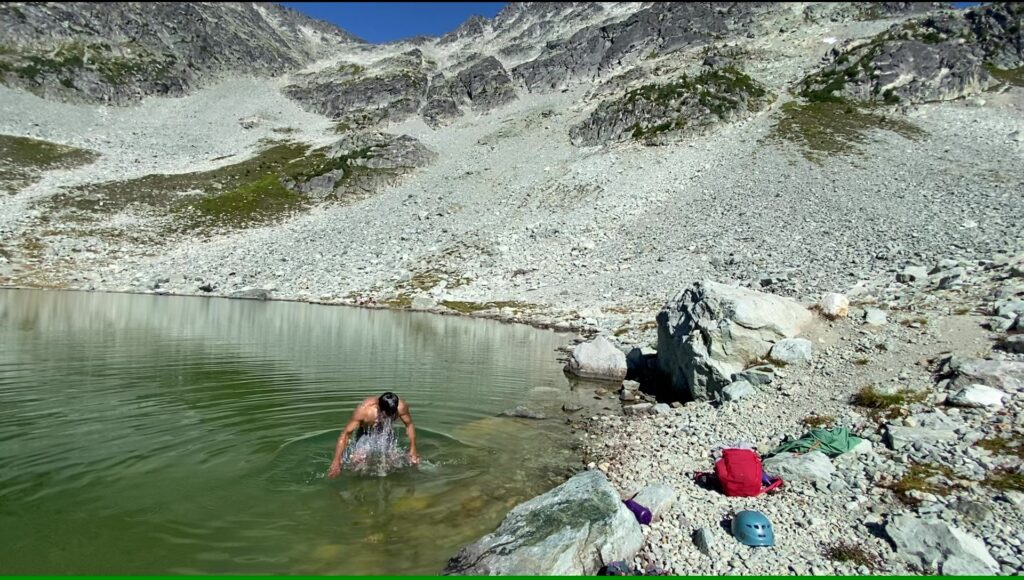
It took us about an hour and twenty minutes to get back to the Blackcomb Lake. We hadn’t planned for it, but taking a dip in the lake was very refreshing.
We were back at the Rendezvous Lodge by 5 pm (last Gondola was 5:15 pm). It was a seven-hour trip. It was another good day in the alpine with Neha, with some fun scrambling and climbing. Overall, I think we had a comfortable pace with breaks, did a decent job evaluating the terrain and made some good decisions. I was happy, how happy?

Territory Acknowledgement
I would like to acknowledge that this trip took place on the unceded territory of the Coast Salish peoples, including the territories of the St’át’imc (Stat-lee-um), Skwxwú7mesh (Squamish), and Líl̓wat Nations. I commit to learning about Indigenous peoples and issues and making reconciliation an ongoing effort.
Source: Native-Land Pronunciation Guide: First-Nations.info
Resources:
First Nations: St’át’imc | Skwxwú7mesh | Líl̓wat
Guidebook: Alpine Select – Climbs and Scrambles of Southwest British Columbia by Kevin McLane
GPX Tracks: GAIA
Climbing Tips: Alpine Savvy
Gondola Ticket: Whistler Resort
Weather Forecast – SpotWx | Yr.No | Windy
AdventureSmart – Trip Planning
Disclosure: The links I have shared in the post and under the Resources section are not Affiliate Links.
Did you enjoy reading this post? Please subscribe to get regular updates. Please share your feedback in the comments section below. Thank you!

From your account of the trip, it seems like a nice little climb!
Thanks Aloke. Yes, Gondola makes the access super easy and it’s a fun alpine objective.
Nice job you guys!! Good one leading the final pitch @Neha!
Thanks Suhrud. Neha did a great job on the last pitch and even in lower sections, in weaving a route through the terrain.
Amazing! That terrain looks challenging (well, at least to me!) Kudos to both of you!
Thanks Manjiri. It was a fun climb.